The Journey of a Thousand Textures
Starting the Journey

Working with different Painterly Texture Overlays over the years I found what works for me and what does not work for my images.
I have been asked how do you know what textures to choose, what colour and appearance. The answer is “the journey of a thousand textures” let me explain ( I will use the word textures in this blog) but what I am referring to is Painterly Texture Overlays or Texture Overlays.
Discovering Textures
When I first started using textures on my photos, I used my own photos such as concrete, bark, bricks and so on and found they didn’t work as they were too dominant and looked horrible (to me anyway).
Then I discovered some free textures on line but I found I was limited to colour and appearance, and they did not work for me or the photos I chose.
The next discovery was buying textures that were labelled Fine Art Textures (now I call them Painterly Texture Overlays or Texture Overlays) , I had never heard of this before.
This opened up a another world of using textures on my photo’s, I was finding I was happy with the result (well give or take a few disasters). Having a library of Textures gave me choices to use for my photos and I got lost in the world of textures!
Lessons Learnt

I can remember at times I would struggle with what texture to choose, what would look good as a thumbnail to placing it over my photo, where it would look horrible. Why was this? I loved the colour the texture what was I doing wrong. At times I would choose between 5 - 8 textures, before I found one I liked. Failure didn’t mean I was no good, rather I hadn’t developed my “texture sense” yet.
The best learning curve was to have choices, I tried using my own “texture photos” they did nothing to enhance my images, so I played with textures other creatives had designed. What I did not realise at the time (other than being frustrated) I was developing my “eye for what textures to use”.
Developing a Texture instinct
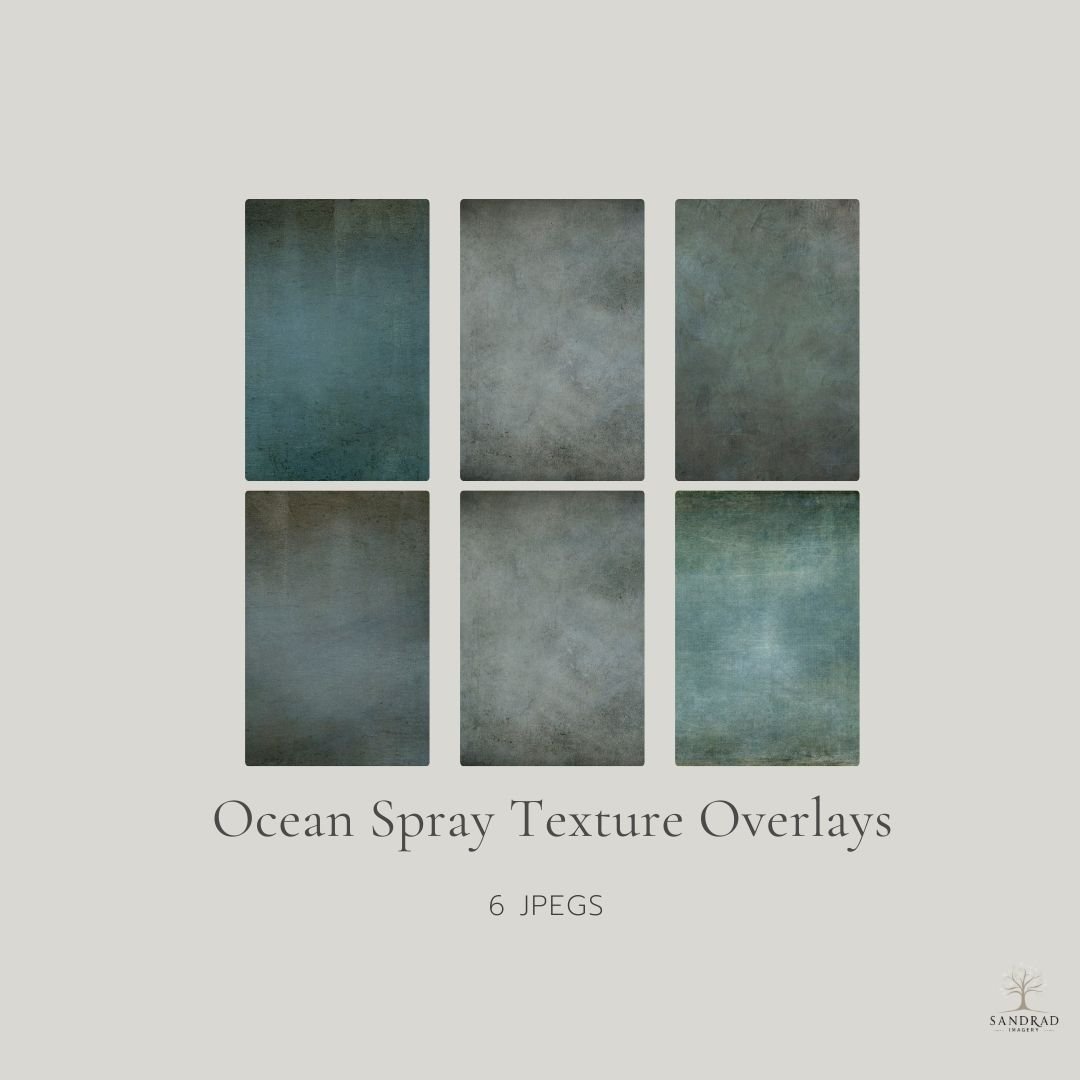
Inspired by the colours of the sea. The deep blues and greens evoke a sense of peace and tranquility, reminding me of the power and beauty of nature. The colours captivate me with their ever-changing palette.
These textures can be used anywhere in your workflow, beginning, middle or end. Use textures with different blend modes and opacity for subtle effects or use them full strength for a bold statement. These textures are designed to add colour, tone and texture to your photos or creative projects without dominating.
What is included:
6 Textures handcrafted by me using my own photos and brushes
High quality JPEGS around the 5000px on the longest edge
Print quality at 300 dpi
Downloading your Textures
You will receive an email with the downloadable link, once payment is confirmed. This link is only available for 24 hours to download.
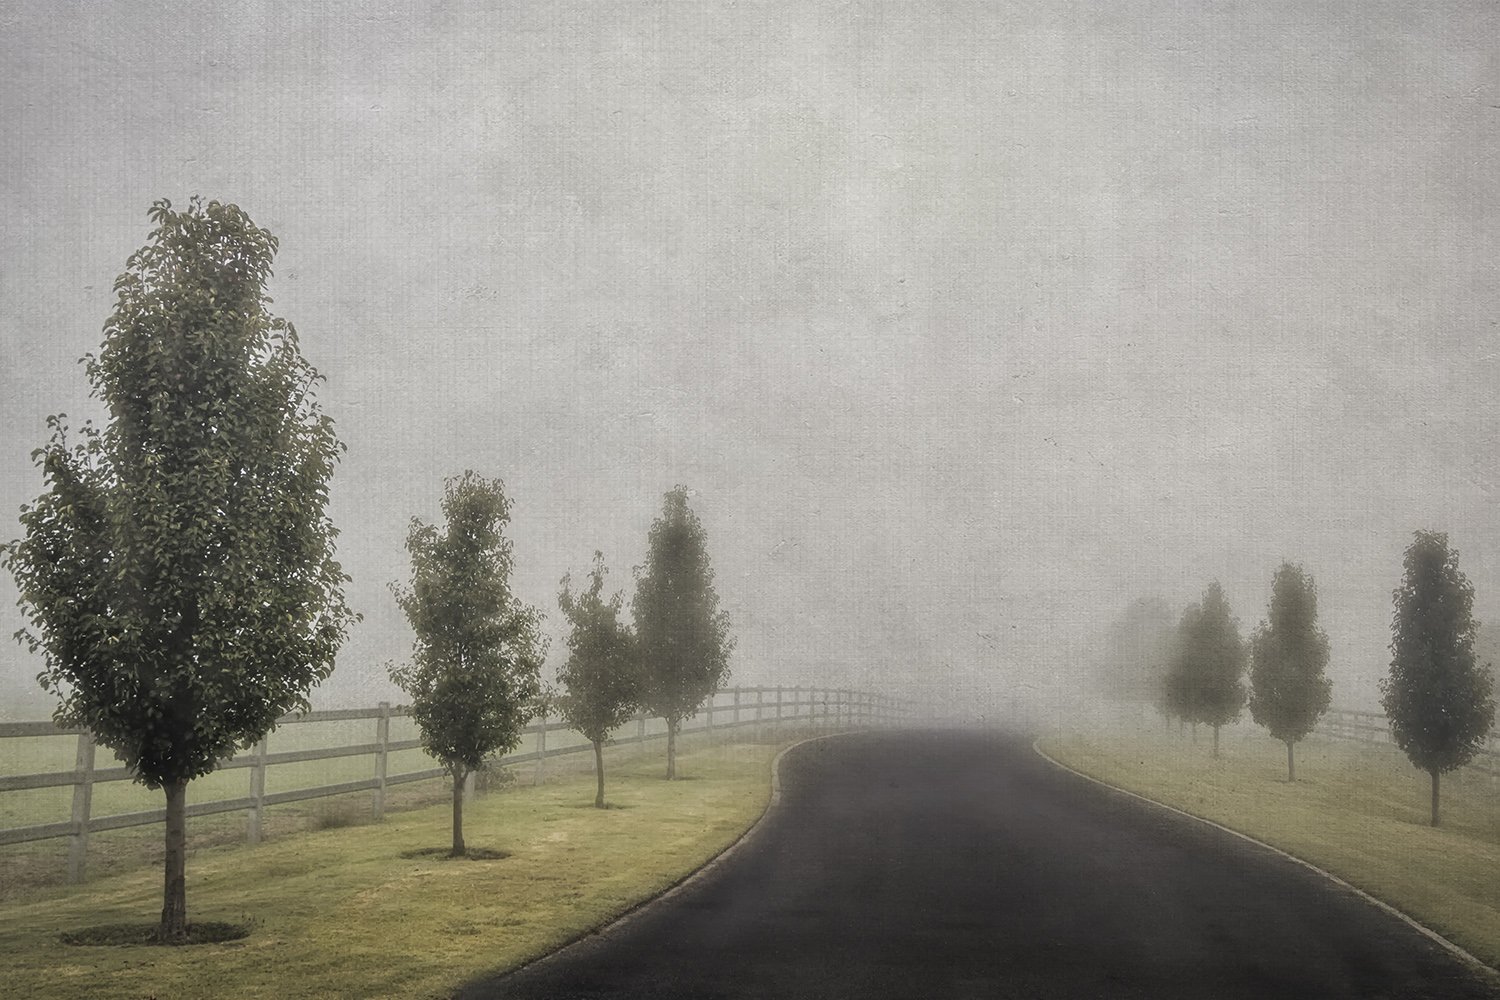
At first, I applied textures to my landscapes. My thought process was my photo was missing something or that extra pizazz. So why not “whack” a texture over the top to see what it did. Sometimes it worked, more than often enough it did not. Then I started to learn what photo would work with a texture. I was developing my “instincts”.
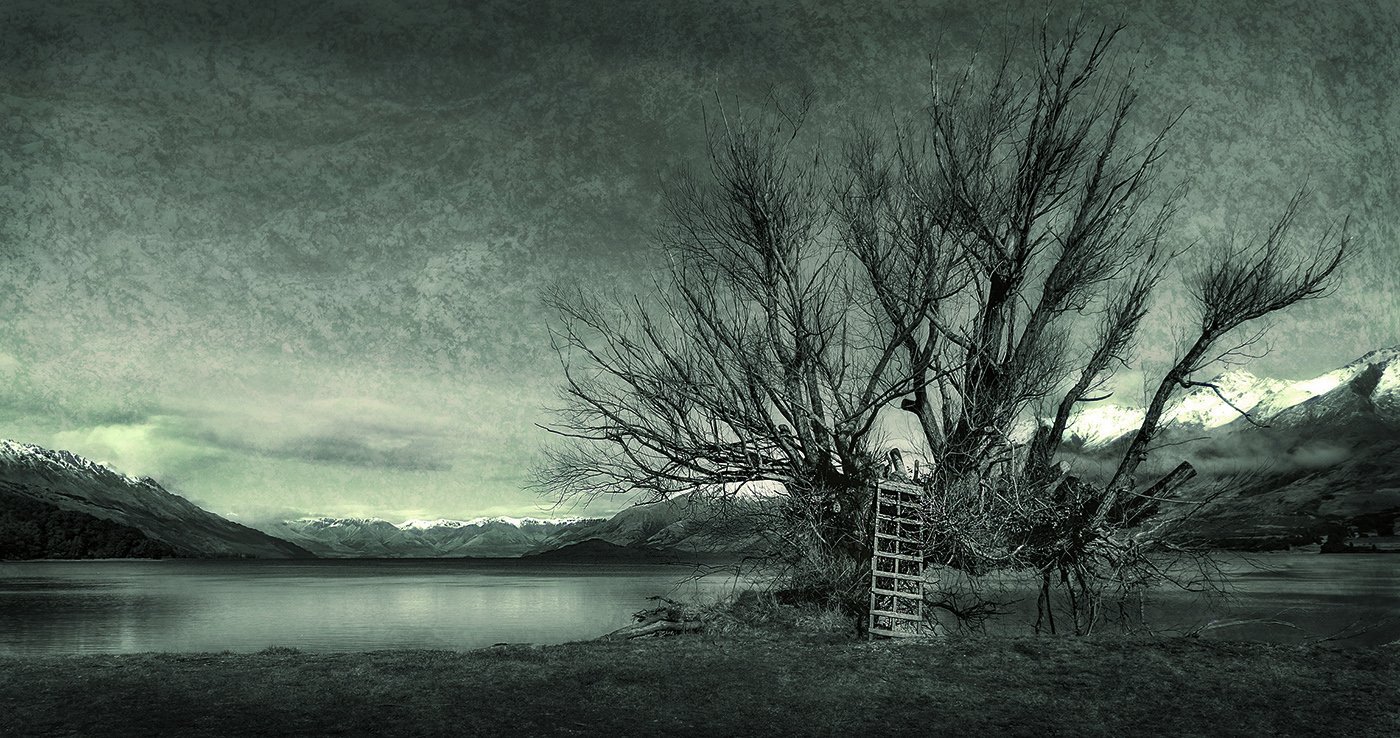
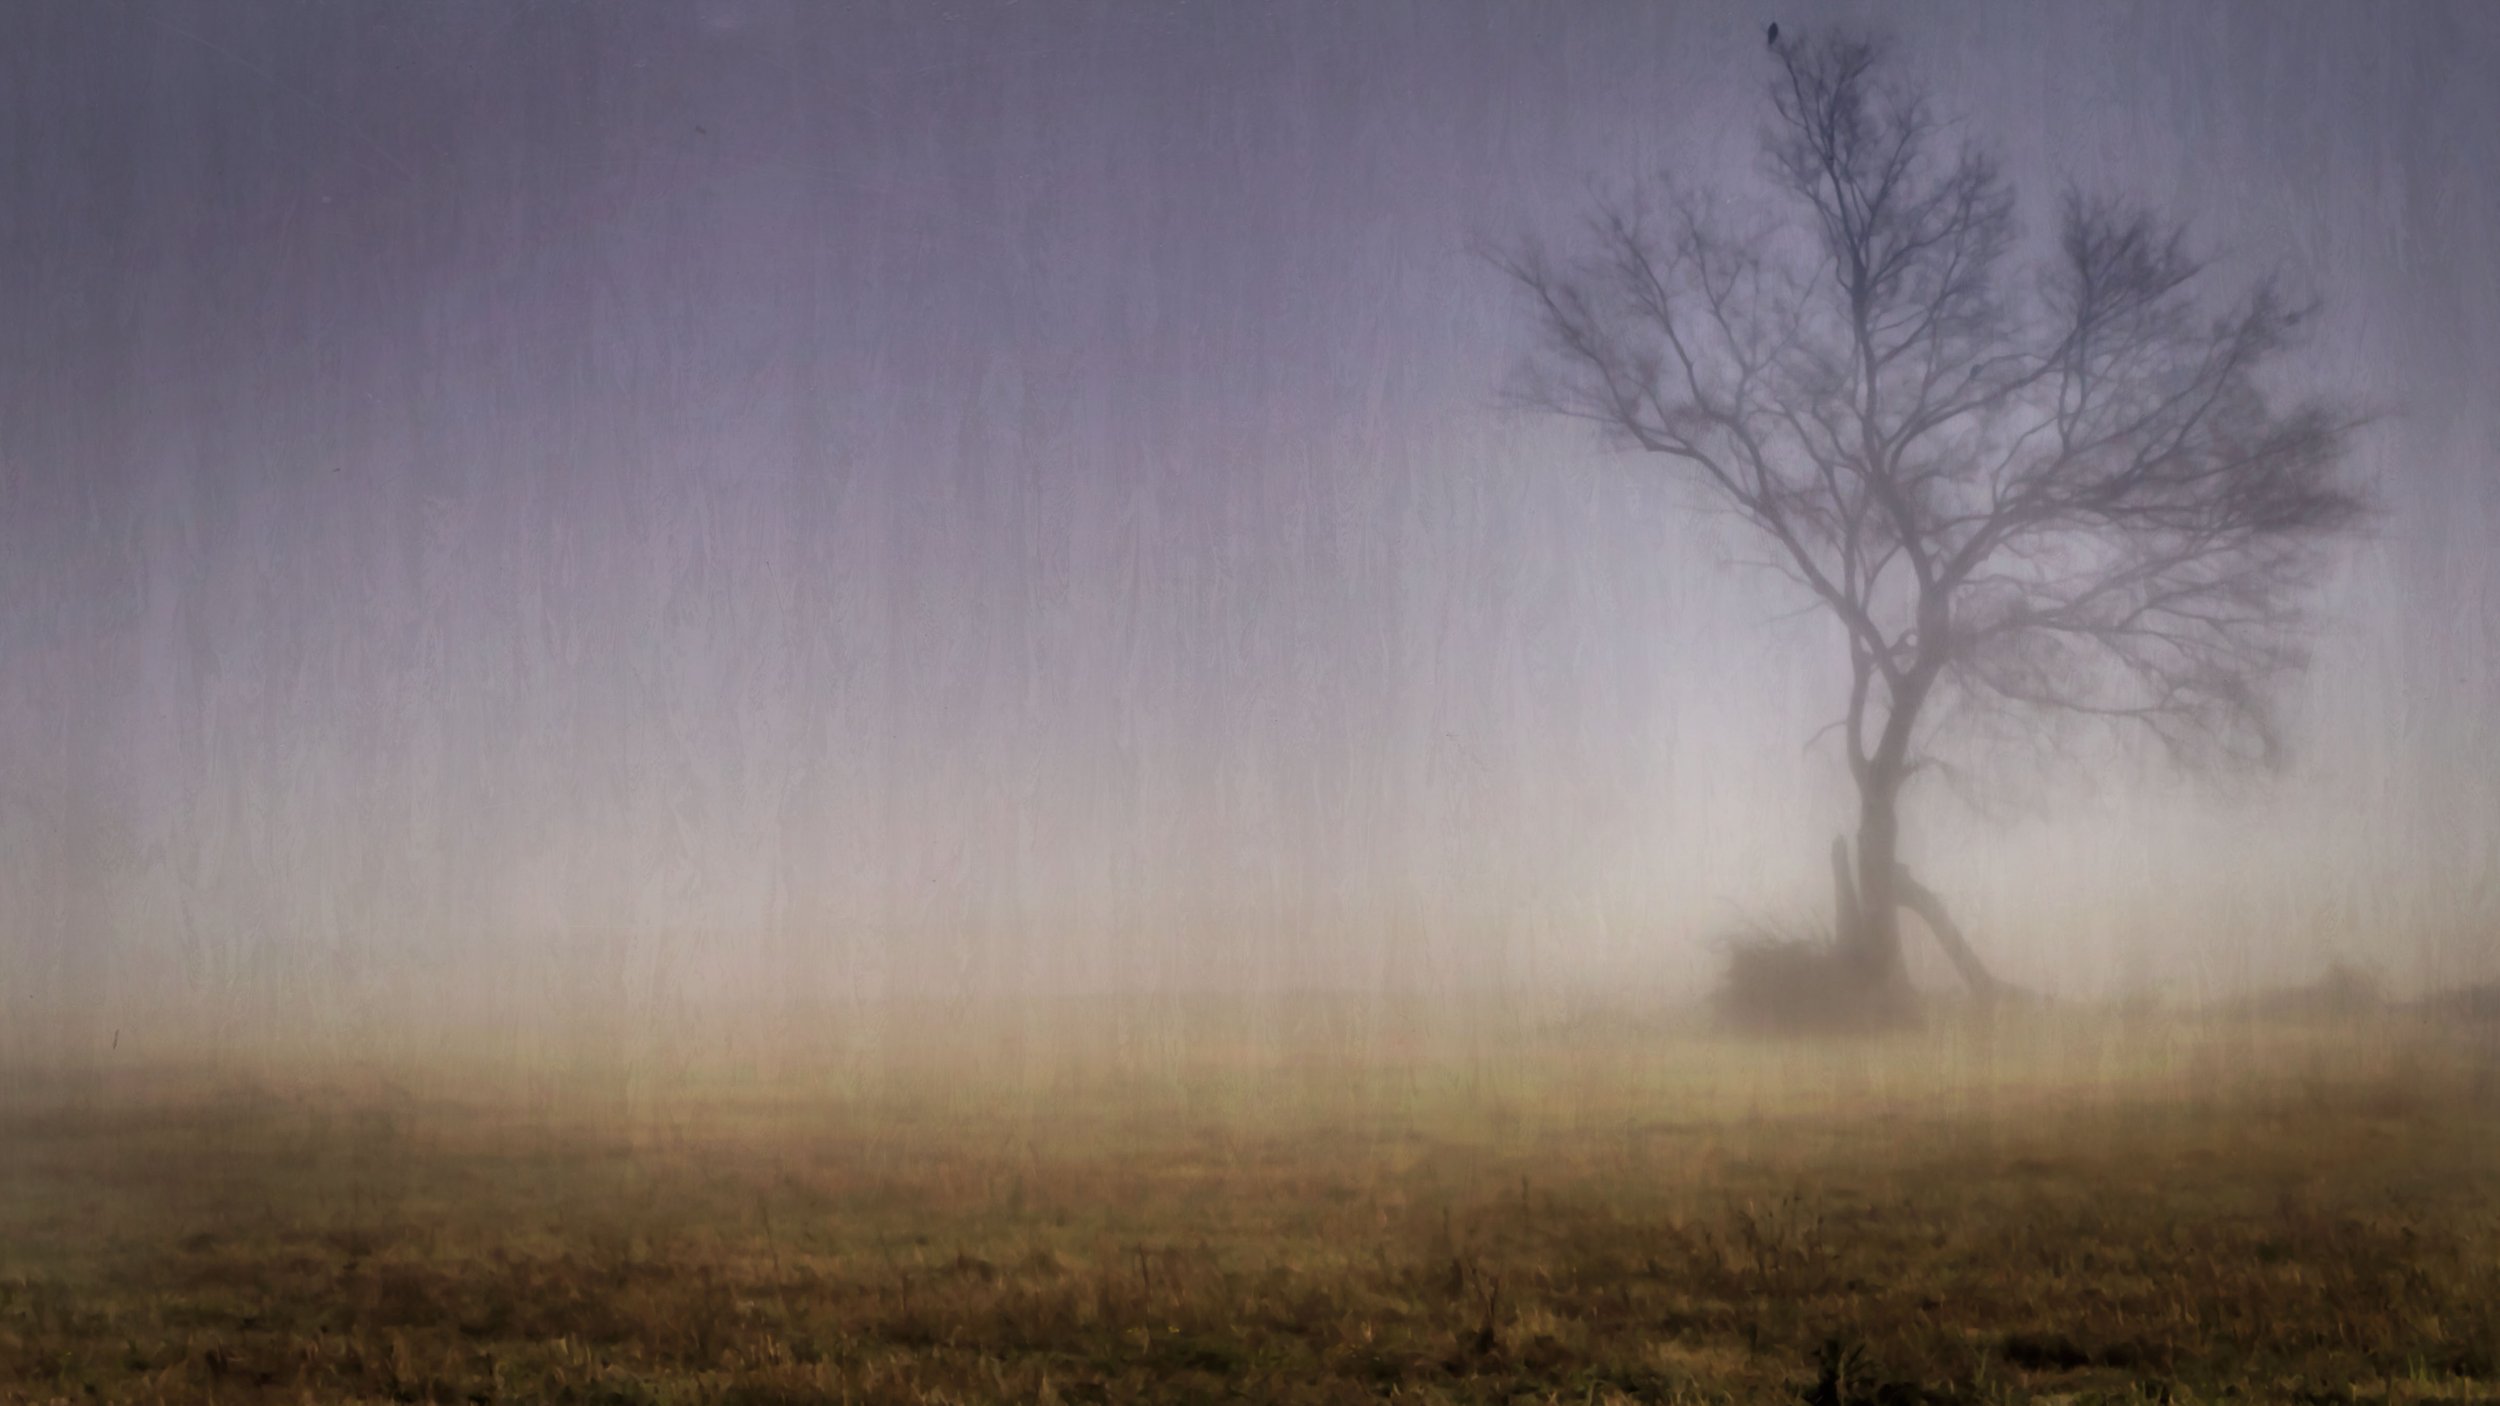
As I got better with my choices, I discovered I could give a different look to my photos, more of a “arty feel” as my confidence grew, I experimented more and more. I had my favourites and knew which ones would work on my photos; I was hooked with textures. I experimented with landscapes, flowers, architecture photos. All those hours creating images using textures taught me valuable lessons. Here are some of my early attempts at using Textures!
What photo to use a Painterly Texture Overlay on?
◼ When you first start using textures your choice of photo is the base ingredient, not every photo suits a texture and cannot disguise a bad photo. Start with something simple like an abandoned building, which on its own may look “BORING” but by adding a texture can bring it to life, you can give it a grungy or vintage feel the look is endless.
◼ Experiment with different photos. It is not about creating a masterpiece or competition worthy image; it is more about learning what works and does not. Remember the texture you choose should enhance your image and not take over as the subject. You want to enhance your subject, not compete with it.
Think like a “creative not a photographer”
Shock horror I can hear some of you say, what does this mean. They are different approaches ~ thinking like a “photographer” means I want to use my own photos and my photos will work as a texture. The “creative” says give me choices, let me outsource I do not mind, I can get on with creating something.
Don’t get me wrong—creating your own textures from photos of things like concrete, timber, or sand can be really satisfying and rewarding. But it doesn’t always result in something that lifts your image. To get the most out of textures, it helps to understand the why, how, and when—how they can enhance your images, elevate your colour grading, and add that extra creative spark.
Build up your resources
To learn how to use textures what colours to choose and what appearance you want here are some suggestions:
◼ Buy fine art textures from creatives, who create textures. The choice is endless, choose ones for colour and appearance, basically what speaks to you.
◼ Whether you choose either or both the aim is to play and experiment using them on your own photos. This develops your “texture instincts”.
◼ If you restrict yourself with choices it narrows your learning
What Painterly Texture Overlay works?
Choosing a texture is a matter of personal choice, if you have not used textures before, unfortunately it is a trial-and-error phase. You need to develop your “eye” to find which texture(s) to use for your images. Some guidelines for you in choosing a texture:
◼ Look at the shapes and lines in your photo. If there are strong lines for example a photo of an old building, you do not want to choose a texture that has a lot of vertical or horizontal lines. Choose a texture that is more subtle.
◼ If your photo has the colour and tones you want, and you feel a Painterly Texture Overlay would enhance it, but you want to keep the depth of the colour add what I call a “neutral colour” or “black white” texture.
Get frustrated but do not give up

◼ Go through your photos and pick the ones you think that will work with a texture overlay
◼ Build up your Textures library ~ purchase a handful of Painterly Texture Overlays
◼ Have fun experimenting using different photos, use Textures either for colour grading or appearance.
Looking back
Firstly if I had given up I would not be creating the creative images I do now and still having fun experimenting with textures.
Secondly, having the tools and resources at my fingertips allowed me to discover. I didn’t create my own textures I outsourced them and all my decision making was based on what colour or texture would work on this photo.

Thirdly, having developed my “texture sense” I experimented with creating my own textures using my own photos or now creating with AI tools, I knew what I wanted and didn’t have to guess I had done the “learning curve” earlier.
So literally my journey was one of a “thousand textures” (well maybe a few less, I can’t remember), Start your journey with textures if you want to try something different.
Painterly Textures available in the Shop


