Get Creative with Textures
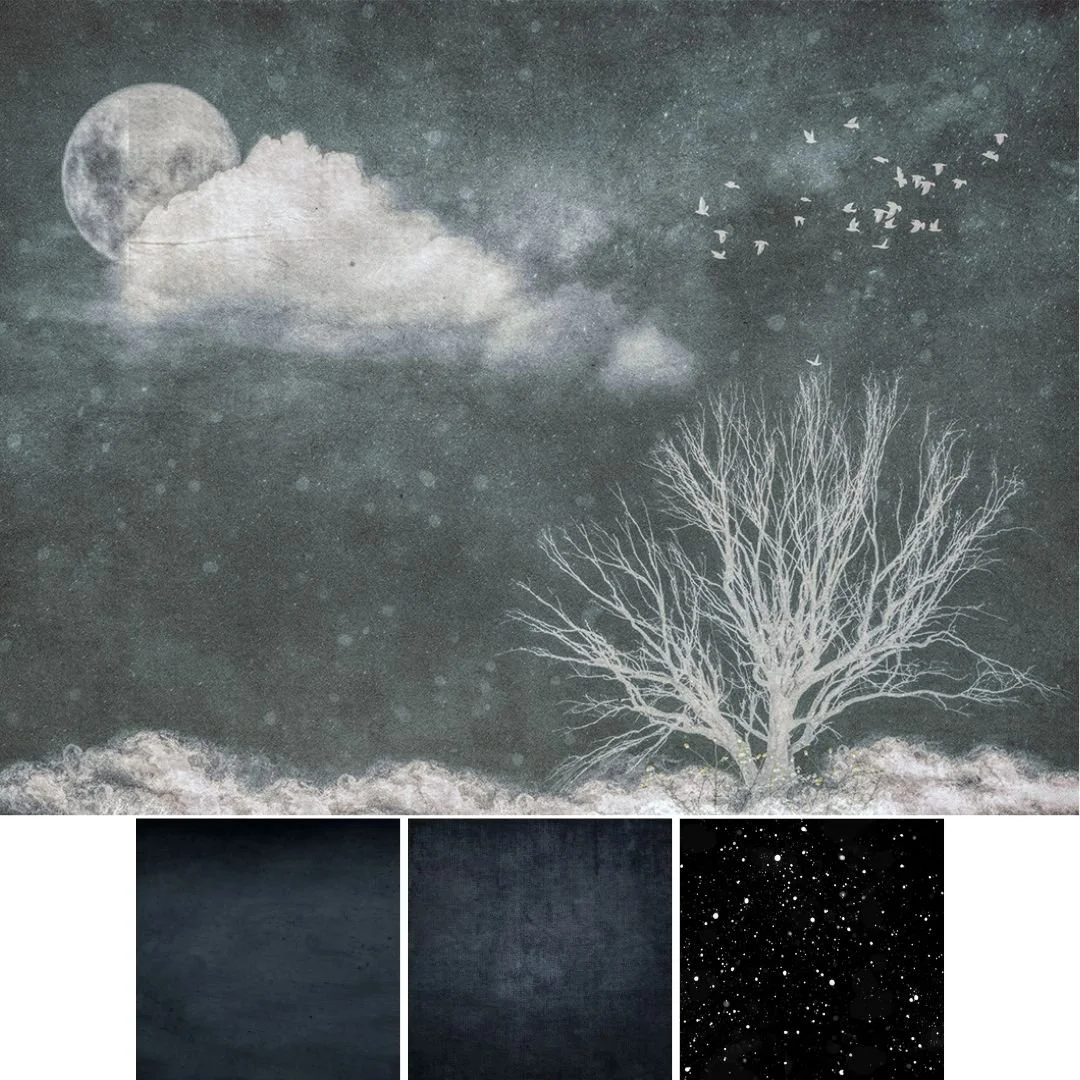
WINTER MOOD - I started with soft blue textures and added layers of moonlight, clouds, and a winter tree silhouette. By combining these elements and finishing with a delicate snow overlay, I transformed a simple base into a dreamy, moody scene full of emotion and story. Explore my texture collections to start creating your own unique worlds
I love working with Digital Textures! My preferred style? Mixed media, where I can blend textures and elements together to create something truly unique. And when it comes to digital art, Photoshop is my trusty companion. I use Photoshop to create my images and my own digital textures. How did it start?
It all began years ago when I dived into the world of textures. It is like breathing new life into my images, transforming it in ways I never could have imagined. This discovery has truly filled my soul and given my creative vision a direction that I never thought possible.
Mixing textures, playing with elements, and watching my art come to life has become "my thing" – the creative pursuit that speaks to my heart and soul.
When it comes to my art, textures have become my go-to tool for enhancing the original idea behind my image. It is incredible how they can add depth and dimension to my work, taking it to new heights.
The more I experimented working with textures, the more intuitive and efficient the process becomes. It is like second nature now, effortlessly selecting the textures that perfectly align with my vision. The result? Art that brings to life exactly what I had imagined. Once I mastered using textures, I knew what I liked and didn’t like both in texture appearance and colour.
Working with Digital Textures can add a whole new dimension to your photographs or creative projects, giving them depth and personality. By incorporating different textures into your work, you can create a unique and eye-catching final product that stands out from the crowd. In this blog, we will explore why and how to use textures using Photoshop to elevate your photo editing game.
Why Use Textures?
Textures are a versatile tool that can be used in a variety of ways to enhance your photographs or creative projects. Here are just a few of the benefits of using textures
Watch this VIDEO how to add a texture to your photo or image
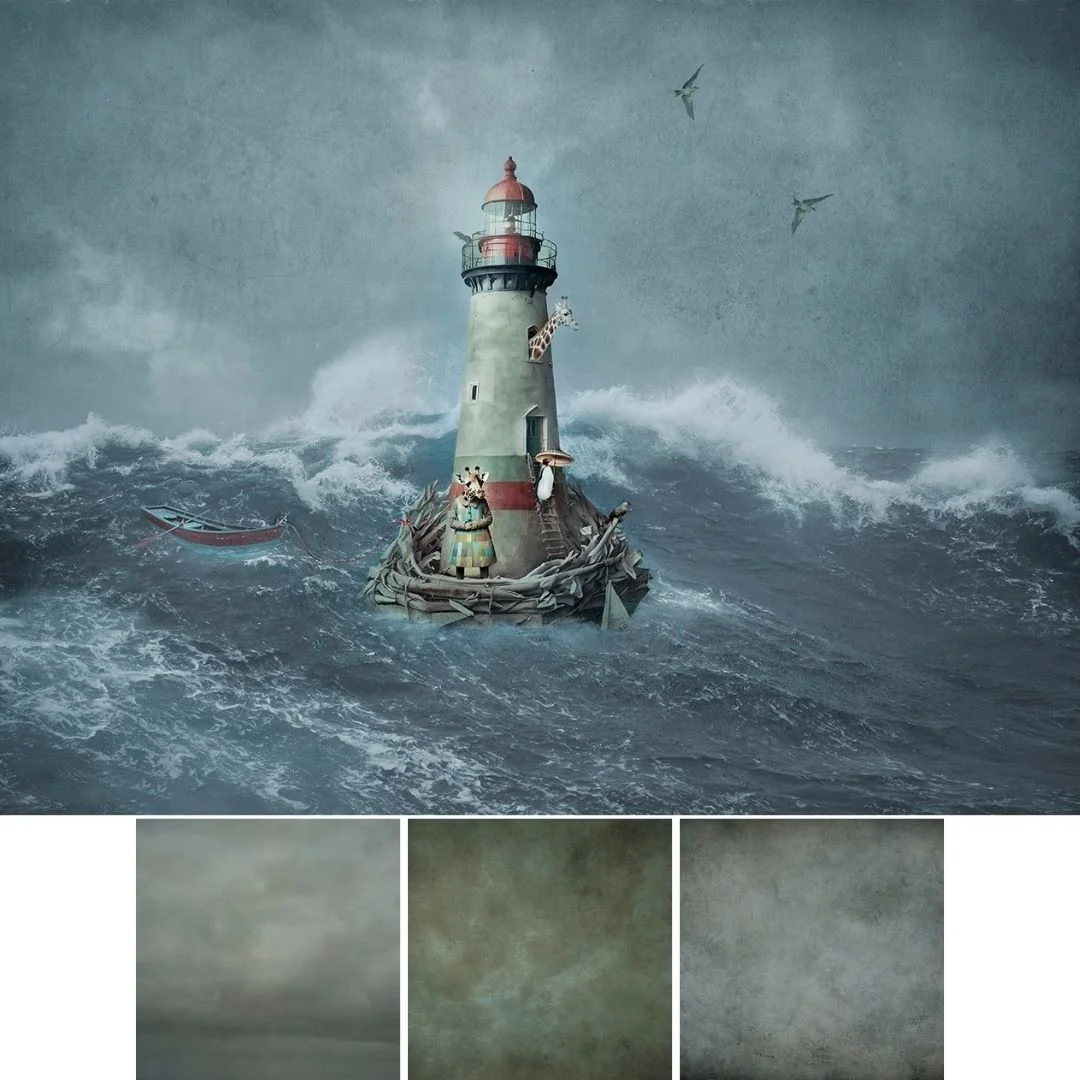
LIGHTHOUSE STORY — I started with subtle sea-toned textures to create depth and mood, then layered in whimsical elements like the lighthouse and animal figures to build a story. These base textures set the tone, transforming a blank canvas into a dreamy, imaginative world.
Add Depth and Dimension
Textures can give your photos a three-dimensional feel, making them appear more tangible and realistic. They can also add depth and interest to flat images, bringing them to life.
Create a Mood
Different textures can evoke different emotions and moods in your photos. For example, a gritty texture might create a moody, edgy vibe, while a soft, dreamy texture can give your photos a romantic feel.
Add Interest
Textures can make your photos more visually interesting, drawing the viewer's eye and creating a focal point. They can also help to balance out busy or cluttered compositions.
Enhance Your Editing
Textures can be used to enhance other editing techniques, such as adding contrast or colour to an image. They can also help to cover up blemishes or imperfections or add colour depth.
How to Use Textures in Photoshop
Now that you know why you should use textures, let us take a look at how to incorporate them into your work.
Find Your Texture
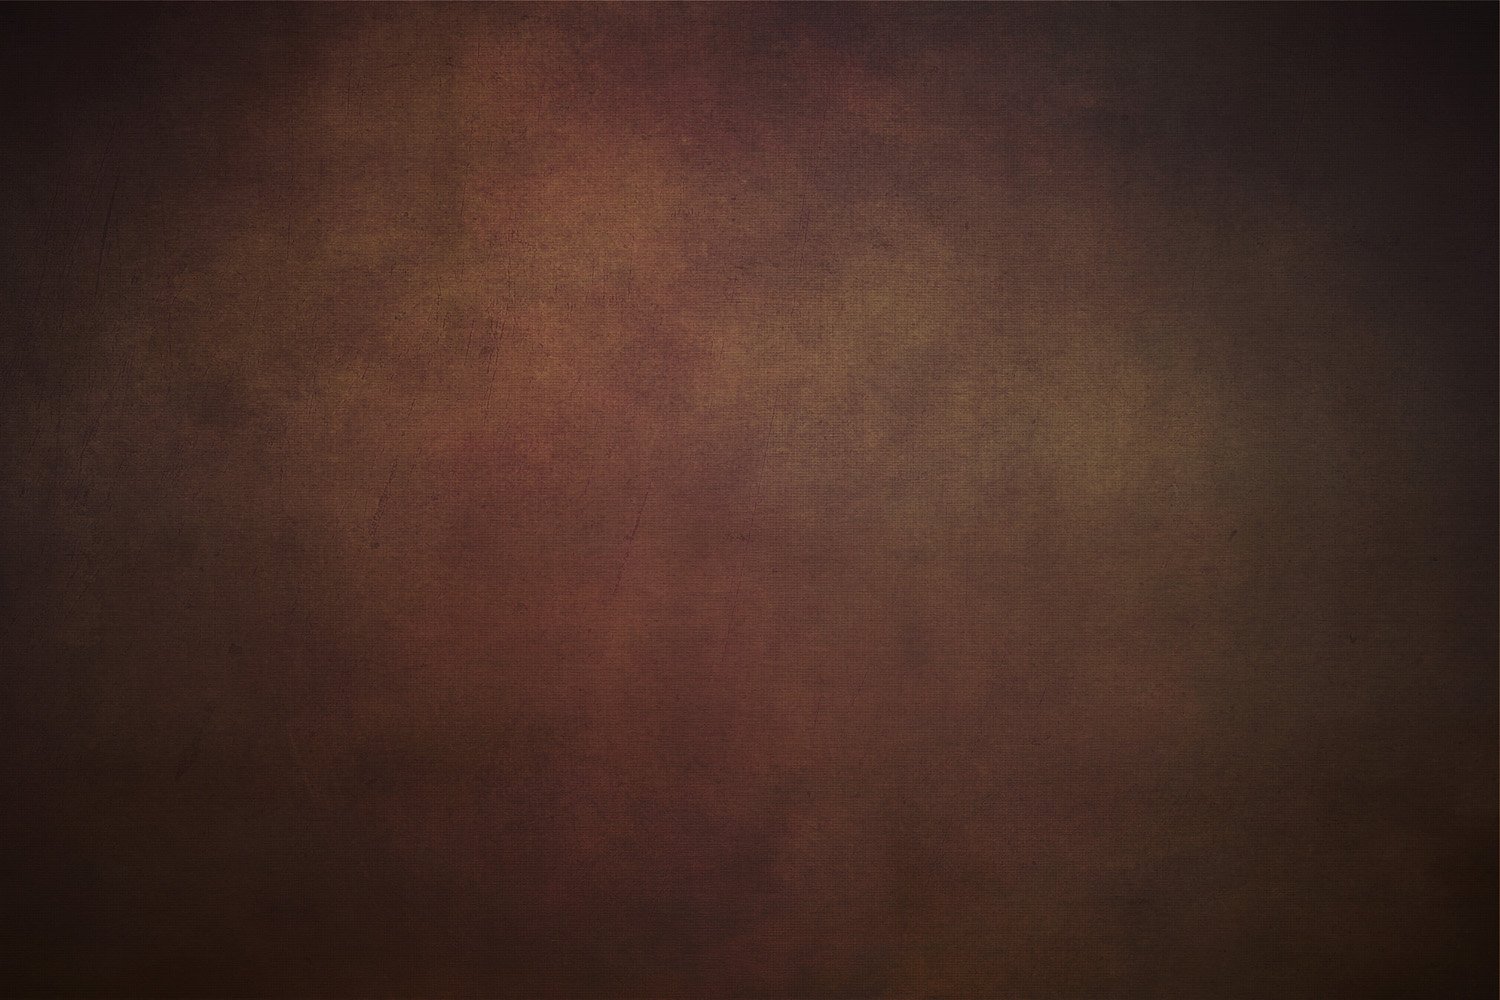
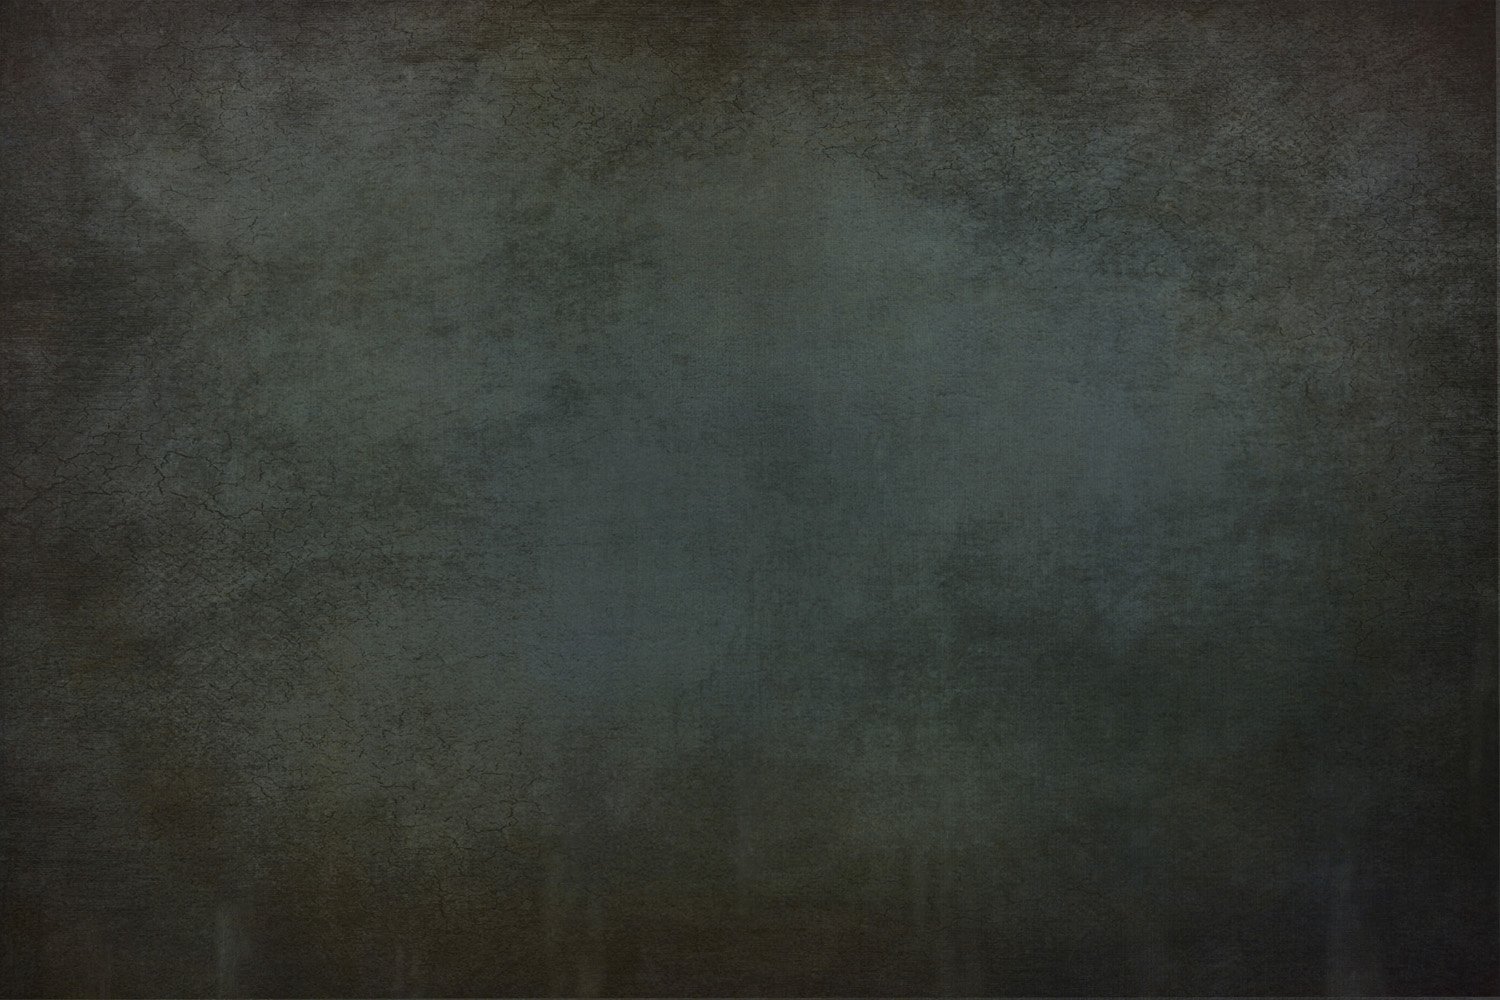
The first step in using textures is finding the right one for your image. Choose a texture that has the colour cast you want to add to your photo. For example, a warm, golden texture could be used to add a vintage or sepia tone to your image, while a blue or green texture could give your photo a cool, moody feel. How do you know what texture to choose?
Import Your Texture
Once you have found your texture, import it into Photoshop by going to File > Open. Your texture should now appear as a new layer in your document.
Open your texture in Photoshop and drag it onto your photo as a new layer. Change the blending mode to "Color" so that only the colour from the texture affects your image.
Adjust Your Texture
To adjust the size, position, or opacity of your texture, select the texture layer and use the Transform or Opacity tools. To fine-tune the effect, adjust the opacity of the texture layer. A lower opacity will create a subtle effect, while a higher opacity will create a more dramatic colour cast.
Blend Your Texture
To blend your texture with your photo, experiment with different blending modes, such as Overlay or Soft Light. You can also adjust the layer opacity to achieve the desired effect.
Mask the Texture
If you want the colour cast to only affect certain parts of your photo, use a layer mask to selectively apply the texture. This is especially useful if you want to preserve skin tones or other important elements in your image.
Fine-Tune Your Editing

Once your texture is in place, you can continue to fine-tune your editing by adjusting other elements of your photo, such as contrast, saturation, or hue. Using textures for colour grading can be a fun and creative way to add a unique look to your photos. Just remember to use textures in moderation and to choose textures that complement the subject and mood of your image.
Get creative!
Using textures in Photoshop can take your photo editing to the next level, adding depth, mood, and interest to your images. By following these simple steps, you can incorporate textures into your work and create a unique and eye-catching final product. So go ahead and get creative!