Why replace your Sky with a Digital Texture? ~ Blog

Way back when I was a landscape photographer, I found some of my skies were lacking colour, drama or texture to make my photo’s pop. The game changer was when I learnt how to replace a sky in Photoshop (though now it is a lot easier to master).
This was the start of what I call “a basic form of composite imagery”. I was off and running with my landscapes. Moving forward when I started to experiment with a creative style and incorporating textures in my workflow, I found using textures could give a painterly look to my photos, add different colour and tone and a tactile look. I made “creative choices” to use Digital Textures and found another creative world opened up.
To clarify I used Digital Textures and not Surface Photos, I have written a BLOG on what is the difference.
The more I used Digital Textures I found I could turn an average photo into creative art. I was hooked! I started to create my own Digital Textures to suit my style with different finishes and colours, then I experimented with several of my sky photos and turned them into a Sky texture (using Photoshop Brushes and photos) and used them to replace the sky for my creative imagery.
Again, this opened up another form of creative choice for me. I would choose the foreground or background ( I still use some of my landscapes as the background for my creative images) and then replaced the sky with one of my Digital Textured Skies and then added the elements. I could use several Digital Textures to get the look, colour depth I was after.

Foreground
Choose foreground, could be flowers, grass, anything that works for a background to incorporate other elements. I find it best not to be too busy, but that is a personal preference for me I like a clean look and not too messy. Experiment and see what works for you.

Replace sky
Add/replace sky with a Textured Sky. I also learnt about masking using grass brushes, to blend the horizon and sky. Sometimes I add another texture over the top to tie the sky and foreground together with a painterly look.
Why do I replace a Sky with a Texture?
Moving forward why do I replace a sky with a Digital Textured Sky? This is about making a creative choice in my workflow when processing an image. By making creative choices I can turn a blah photo (that would have sat in the archives doing nothing) into a creative image. Not to mention adding depth and detail in the sky, as well as giving a colour base to work with for the overall colour of a composite image.
When to replace the sky
◼ I usually replace the sky early on in the workflow, then I build up my image with other textures, elements, colour matching and colour grading techniques. I learnt the hard way, make your creative choice early not later on, as it becomes too difficult to fix when you have added elements, done adjustment layers etc. Think first not fix later!
◼ To help, I found if I broke the image up into two parts when starting, it helped me isolate my thinking. Either the foreground first then sky OR depending on the image sky first then foreground.
◼ The secret is what foreground to use and what textured sky would work with the foreground. There is no quick way around this, play and experiment to see what works, what doesn’t and what order to do it in.
Play and Learn
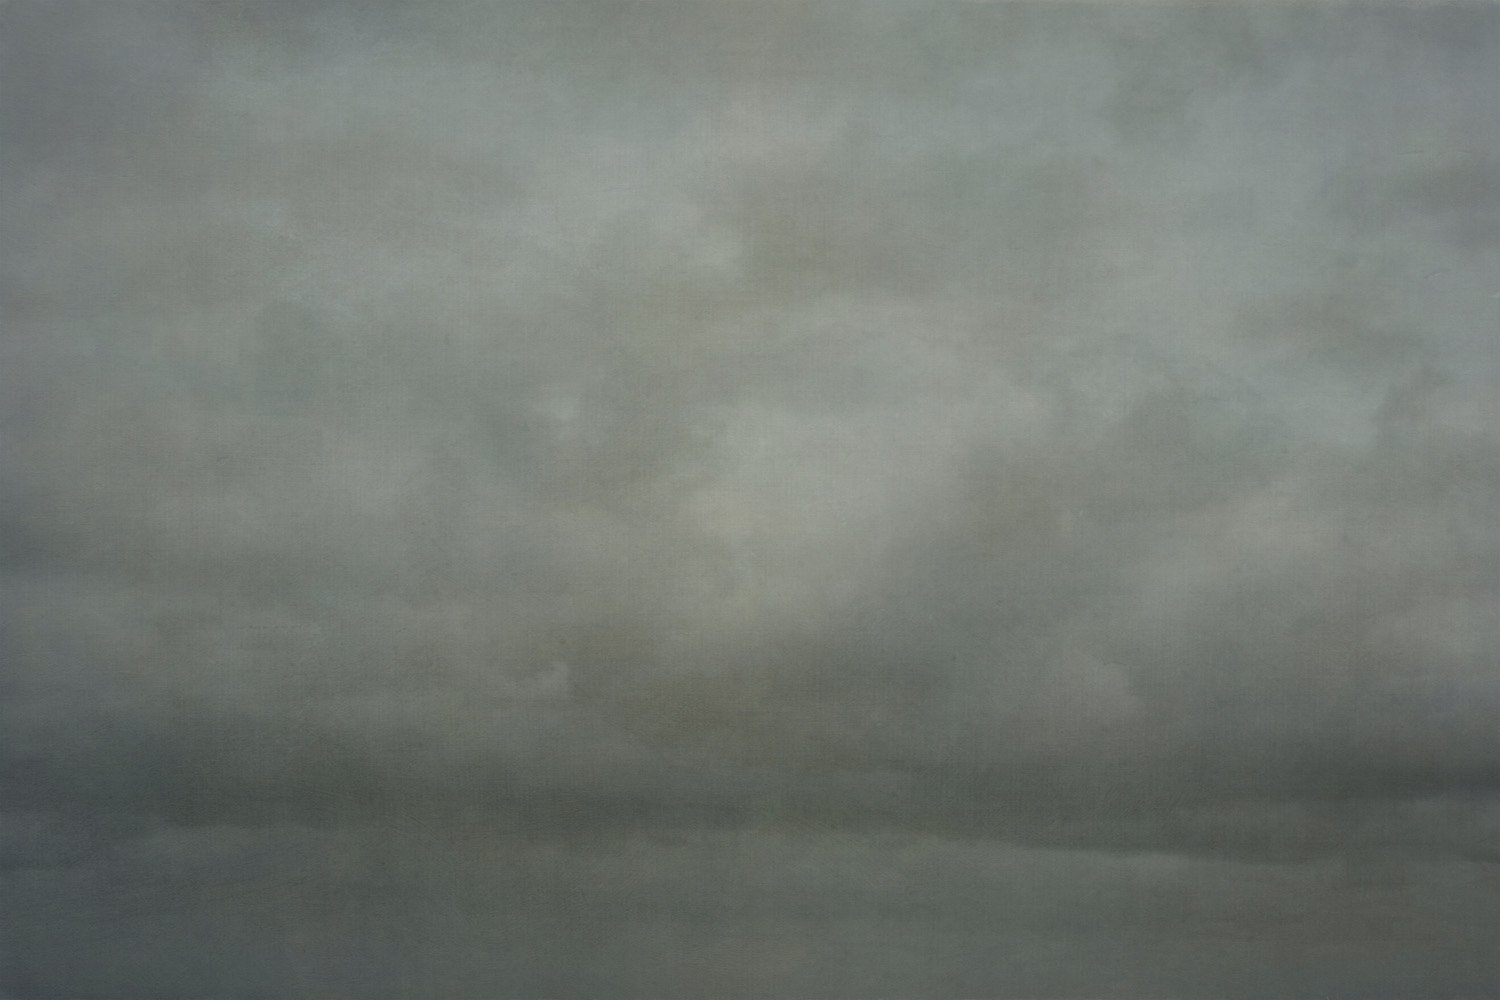
◼ The above image was one of my early attempts at replacing a sky with with a Fine Art Textured Sky for a composite image. It was a learning curve, but fun.
◼ I photographed the flower foreground purposely to use as a foreground or background for a composite image, at the time I didn’t know what I was going to use it for, again I’ve learnt when you see something that could be used as an element, background or foreground capture it. Don’t wait. This helps build up your stock library.
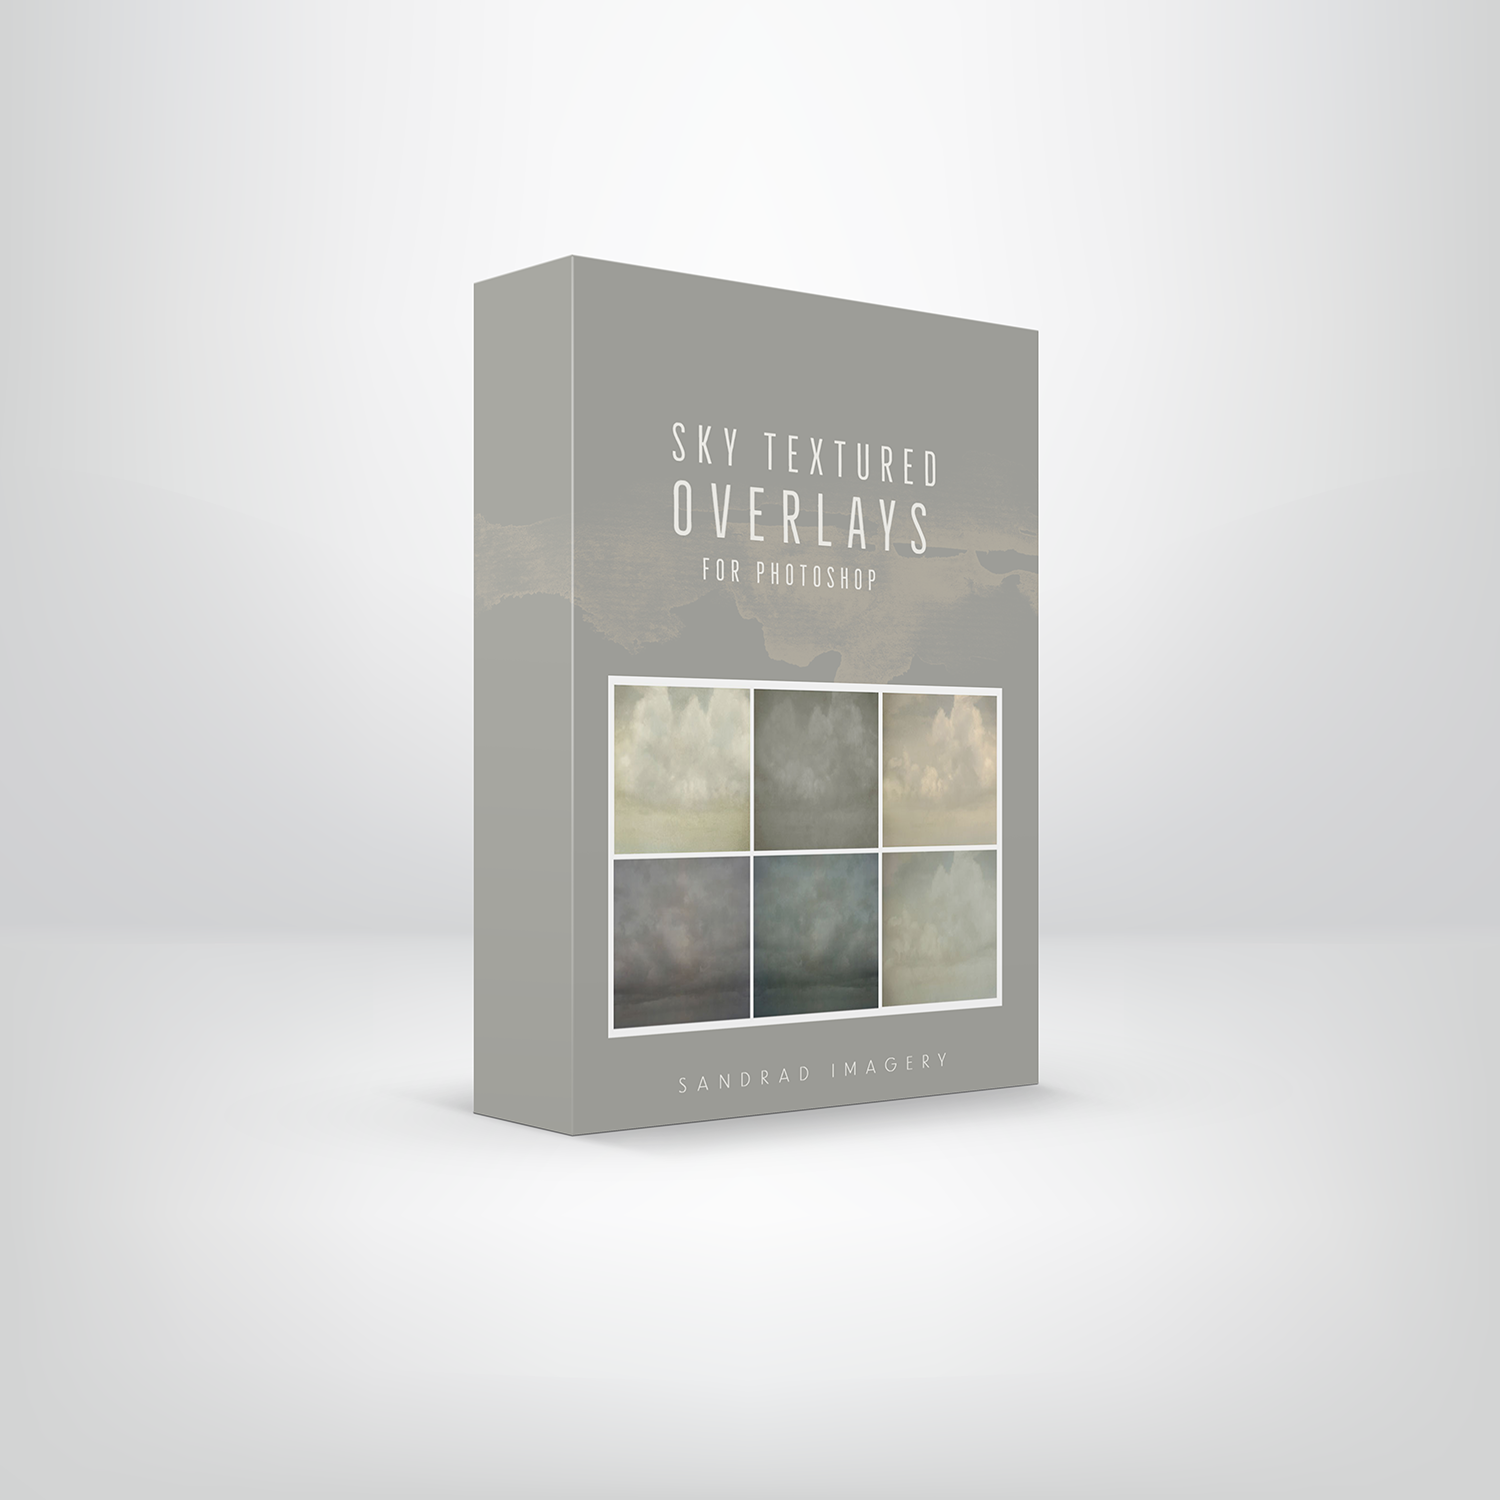
Unlock the potential of Digital Sky Textures and elevate your game and provide a touch of individuality to your workflow. With ease, you'll be able to seamlessly incorporate beautiful skies into your compositions and let your creativity soar. So go ahead and have some fun! To see how I replaced the sky watch my FREE VIDEO TUTORIAL
MORE TIPS
If you liked this Photoshop check out the FREE LEARNING HUB with lots more tips and techniques.