Essential Skills for Composite Imagery

Before I stepped into the world of AI or digital art, I was creating composites with my own photography. That’s where it all began — learning how to combine imagination with technique, and turning everyday photos into something more.
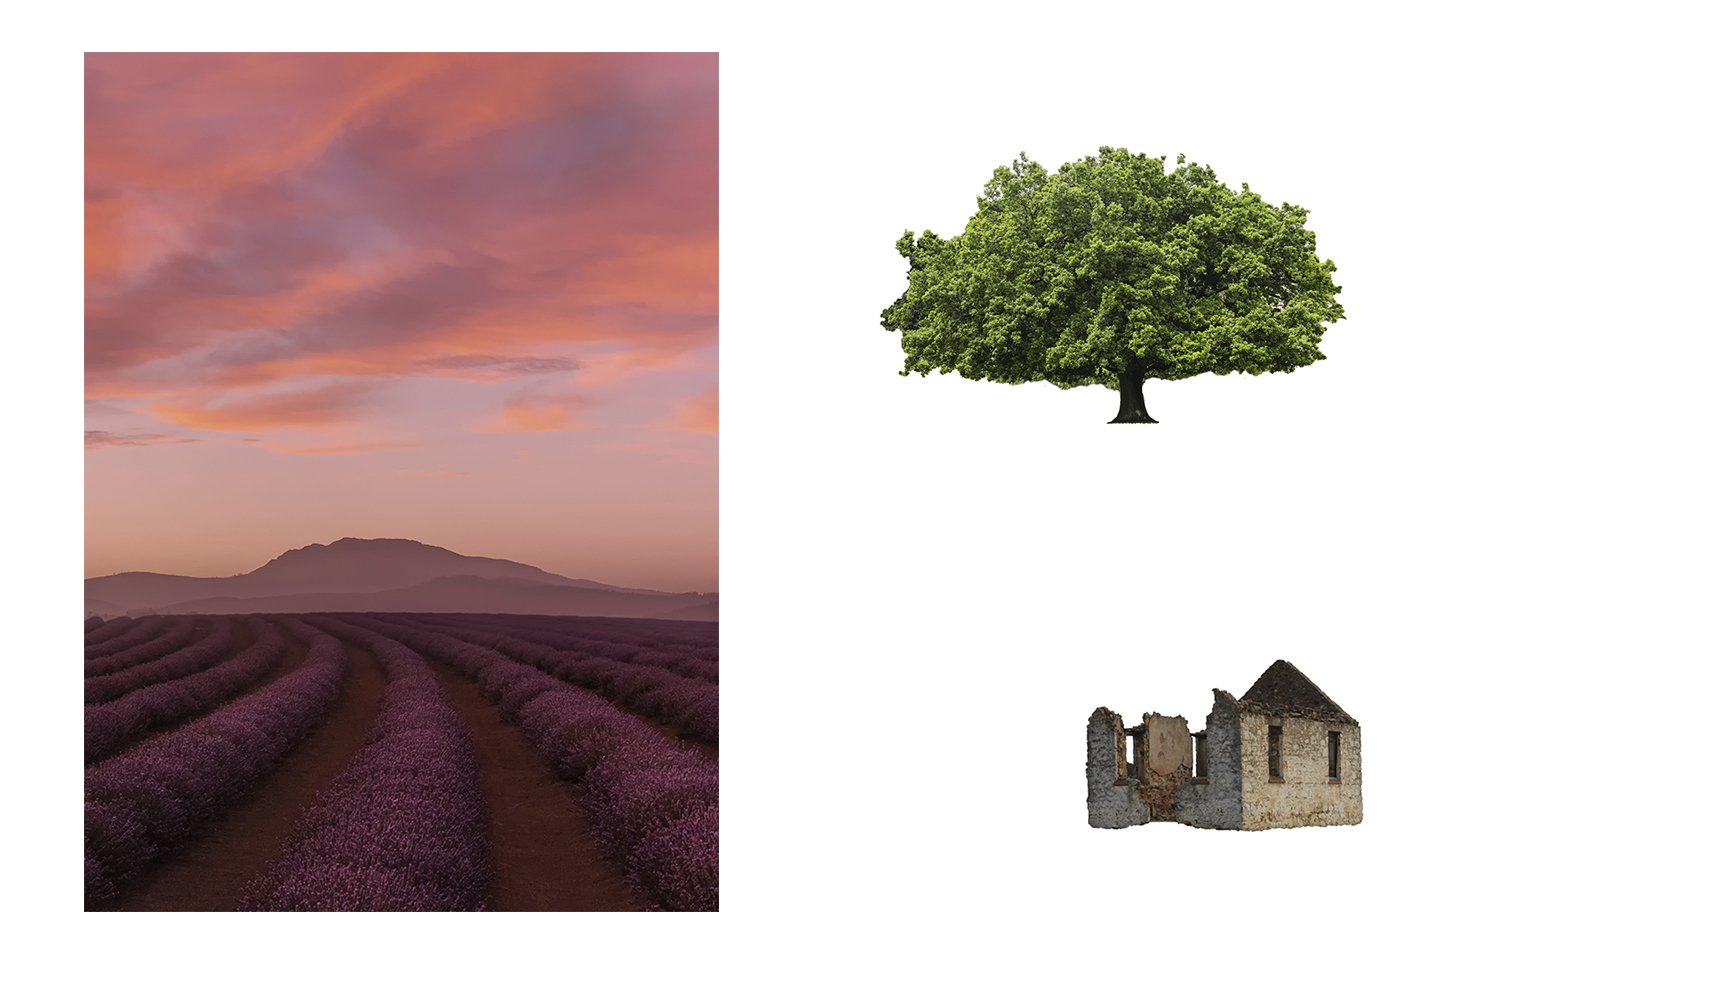
I still remember one of my first attempts: a lavender field at sunrise. I added just two simple elements, but figuring out how to blend them and bring everything together with colour grading was a huge learning moment. It pushed my Photoshop skills without tipping into overwhelm — and that balance made all the difference.
Even now, those same foundational skills guide my creative process. The tools may have changed — Photoshop has come a long way, and so has my workflow — but understanding light, selections, and how to build a scene that feels right? That’s timeless.
Creative freedom!
Creative freedom is one of the benefits of composite imagery. Combining elements from old photos that will normally not see the light of day, finding a stock photo of a magical location, putting your subject in a location you could never travel to, or even creating places or creatures that don’t exist, is possible with composite photography.
Creating composite images can be a slow journey at first. When you start to experiment, you will realise the amount of attention this process needs to make the image successful, like anything you have to play and practice, practice.
Remember to have fun on the journey.
It starts with an idea
In composite imagery, having a concept is a start, and you are only limited by what your mind can think of. The hardest thing will be managing what you have in your head and translating it to an image and your skillset in Photoshop (or other programs that you can create composites with). “Imagination vs Skillset” is the biggest hurdle when creating composites.
The easiest way to do this is to separate your vision into a few categories:
the background
the subject
the extras
the atmosphere
The most important things to think about before you start are the subject and the background. Most of the time I choose my background first, other times I will have an element in mind I want to use, so I have to find the right background to use.
Choose Elements That Work Together
It’s easy to get carried away picking favourite images for a composite, but not everything plays nicely together. For a scene to feel believable, your elements need to work together technically and visually — not just look good on their own.
Size and Resolution Count
Start with a background that’s large enough to zoom in on and still keep the detail. The same goes for any added elements. If you’re scaling something up to fit the scene, make sure the quality holds up — especially if you’re planning to print. A blurry subject can pull the whole image down.
Match the Perspective
This is one of those things that can quietly ruin a composite without you realising why. If your background was photographed from above, your subject needs to be shot from that angle too. Matching camera angles helps everything sit naturally in the scene. When they don’t line up, it just feels off.
Lighting can make or break your composite
Lighting can make or break the blend. If one element is lit from the left and another from the right, it might not be obvious straight away — but your viewer will sense something’s not quite right. When I first started, I didn’t give lighting much thought. I just used what I liked. It wasn’t until later I realised how inconsistent light can completely throw an image. Watch for shadows, highlights, and overall tone. You can adjust lighting in Photoshop, but the more consistent your elements are to begin with, the easier the whole process becomes.
Selections Matter
Good selections are the backbone of any composite. If the edges are rough or the cut-out looks rushed, it’s the first thing people notice — no matter how creative the overall image is. Clean, accurate selections help your elements sit naturally in the scene, making the final image feel polished and believable. It’s worth taking the time here, whether you're using tools like Select Subject, masking, or refining manually. The better the selection, the less work you’ll have blending later on.
Start Simple and Build Your Skills
You don’t have to create a masterpiece on your first try. In fact, the best way to learn composite imagery is to start with something simple and let your skills grow from there.
The more you experiment and play, the more confident you’ll get. Each edit builds your toolkit—selection techniques, blending tricks, color adjustments—all the bits that help bring your ideas to life.
Eventually, something clicks: you’re no longer limited by what you can’t do. Instead, your imagination leads the way—and your skills are there to back it up.
Start Strong with the Right Skills
Even though this Photoshop Composite Bundle was created a while ago, the core concepts are still just as relevant today. The tools may have evolved, but the foundations of a good composite remain the same.
Once you understand these basics, you’ll have the confidence and grounding to take your ideas further — whether you're working with your own photos, digital elements, or even AI-generated content.
If you’ve been wanting to try your hand at composite imagery but aren’t sure where to begin, the Composite Basics Bundle is a great starting point. These tutorials walk you through the essential Photoshop skills — selections, masking, cutting out, colour matching, blending, and adding light and shadow.