Starting the Composite Journey
When I created my first composite I struggled, but as my processing skills improved, I became more confident and found a new style of photography. This image was what I call my first “serious” composite. A huge learning curve, challenging but fun at the same time.
The Vision
The very first thing you need when creating a composite is a vision of what you want to create so you can think about what elements are needed to create that vision.
The second thing is identifying what skills will be required to bring everything together. This is the learning curve as you “don’t know what you don’t know”.
And third, be willing to have some fun, try something new each time.
When running photography workshops I will often say “shoot with processing in mind’ which means think about the composition, the space, the foreground or the sky. It’s what I call ‘having the bones’ to create an image.
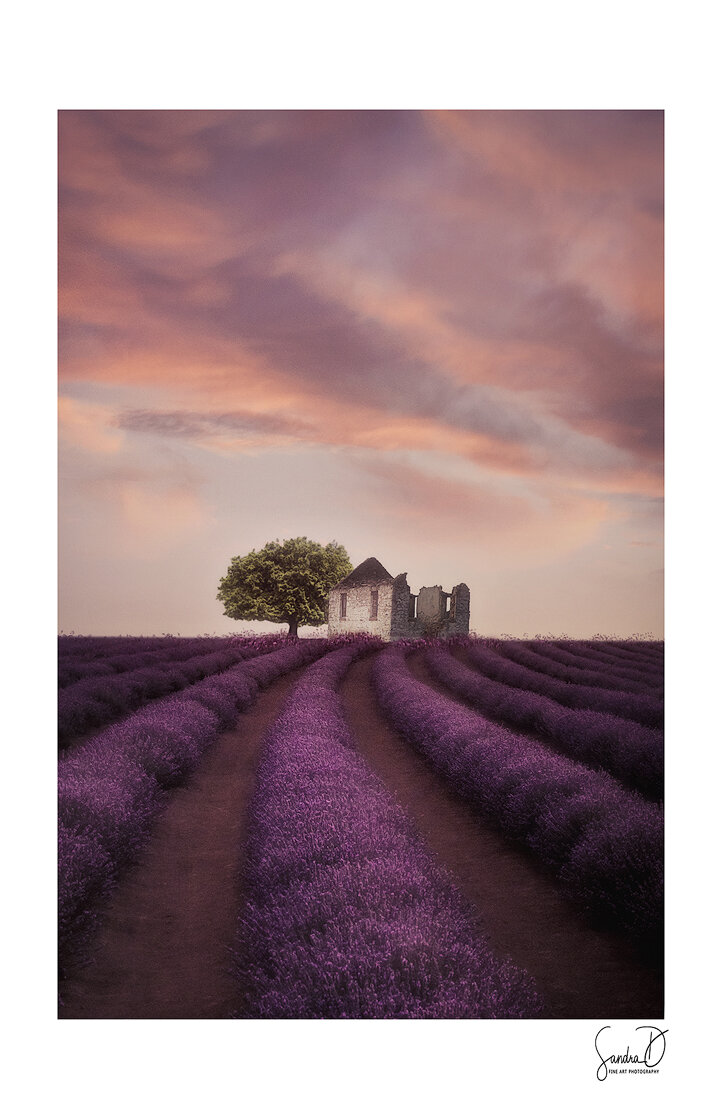
My inspiration for this image came from seeing images of the Lavender fields in Provence, France. I combined 3 images to create the image I had in mind:

THE ELEMENTS THAT I USED TO CREATE THIS COMPOSITE IMAGE
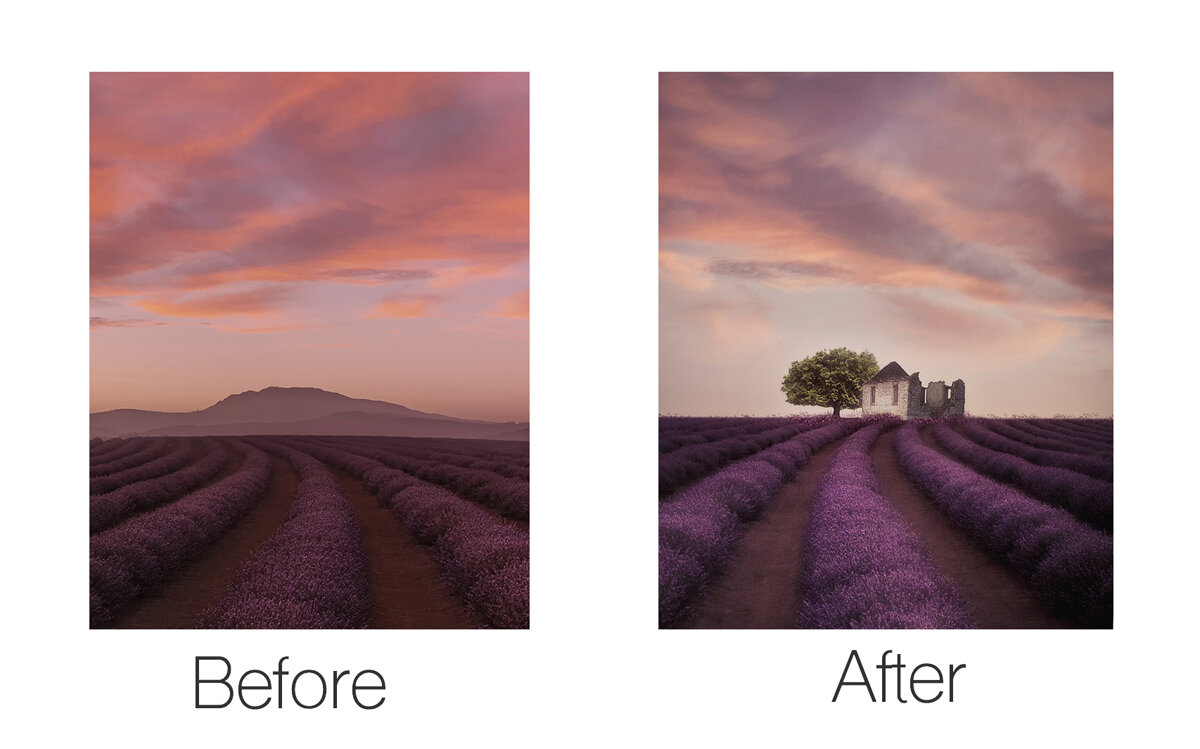
◼ The base image (the lavender foreground and the ‘exploding’ sky) was taken at Bridestowe Lavender Estate in Tasmania.
◼ The tree is from Port Arthur, Tasmania.
◼ The old church was taken at Goulburn.
Processing
The tools I used to create this image were:
◼ Lightroom
◼ Photoshop
◼ Nik Collection
This is an overview of how I created my image, not a step by step process.
I processed my RAW image using Lightroom to make some minor adjustments such as exposure, lens correction, shadows etc. After making these minor adjustments I opened the image up in Photoshop.
In Photoshop I applied a Levels Adjustment layer to get the contrast and what I call the ‘tonal range’ to my liking.
I didn’t want the mountains in the background, I wanted a clear horizon, so I selected an area of the sky and used that to cover the mountains.
To blend the image, I added a Brightness & Contrast Adjustment layer to darken the overall image.
I added the tree and house which I had previously cut out ready to use.
I applied several Adjustment layers such as Saturation, Brightness and Contrast to blend the other elements. I also applied a Colour Correction technique to blend the colours so the tree and church didn’t stand out too much from the background. This was the play phase trying to get the elements to work together.
I applied a Gaussian Blur effect to soften the image.
I felt the house was not sitting in the Lavender right, it looked like it had been dumped into the scene, so I used the Pattern Stamp Tool to sample an area of the lavender, then brushed that in around base of the house and the tree to blend those elements into the foreground. The fiddly part was blending the tree and house to look natural.
After I had all the elements looking more natural, I added other Adjustment layers (Curves, Levels, Saturation, Brightness & Contract etc) to finish off the image.
I wanted a dreamy feel to the image, so I added a Glamour Glow layer using Nik software.
It was starting to look like my vision, though to be honest when I am editing an image I start off with an idea and then it can go anywhere from there.
I will often draw from what it felt like when I shot the image, the colour palette I saw on that day or the mood (eg this sunrise was magic and had a dreamy feel in that early morning light).
Summary
I enjoy the processing part of creating an image. Even though I had an idea of the elements I wanted to use to create the image, I had to learn a few new skills, it was learn as I go “approach” . It took a number of layers to create the image, as I was experimenting with different Adjustment layers to get the colours and tonal range I was after. I feel it was worth it as this is what I had in mind!
Tips
◼ Start building your own element libraries. I often take photos skies, trees, old buildings, cars, etc that I can use for creative images.
◼ For visual inspiration look at Instagram or other photographers’ work. Sometimes this gives you the spark to create something.
◼ Be prepared to play, experiment and get frustrated at times when trying new techniques.
◼ If the frustration gets too much, walk away, clear your head (have a cuppa, play music, go for a walk or do a menial task), then when you are back in a creative headspace, continue to play and learn.
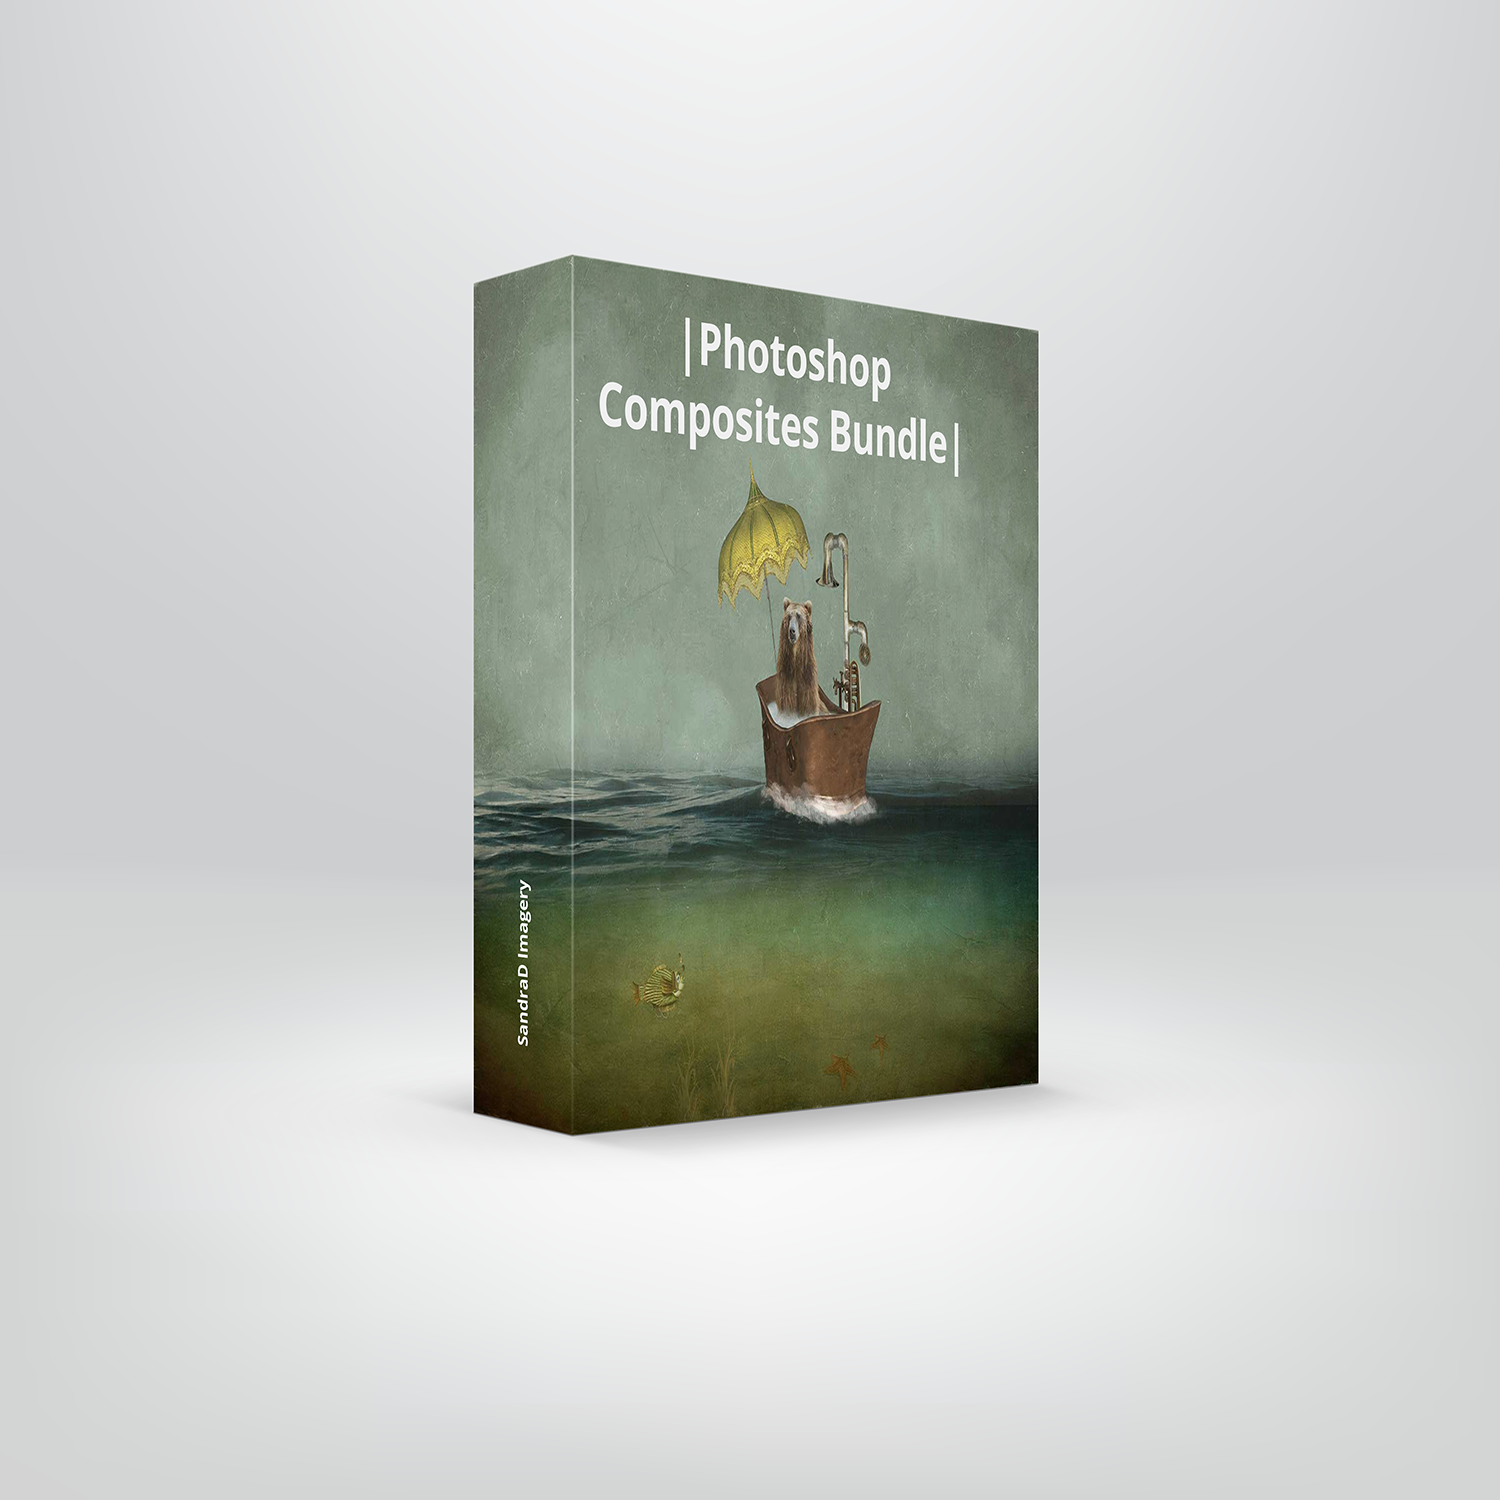
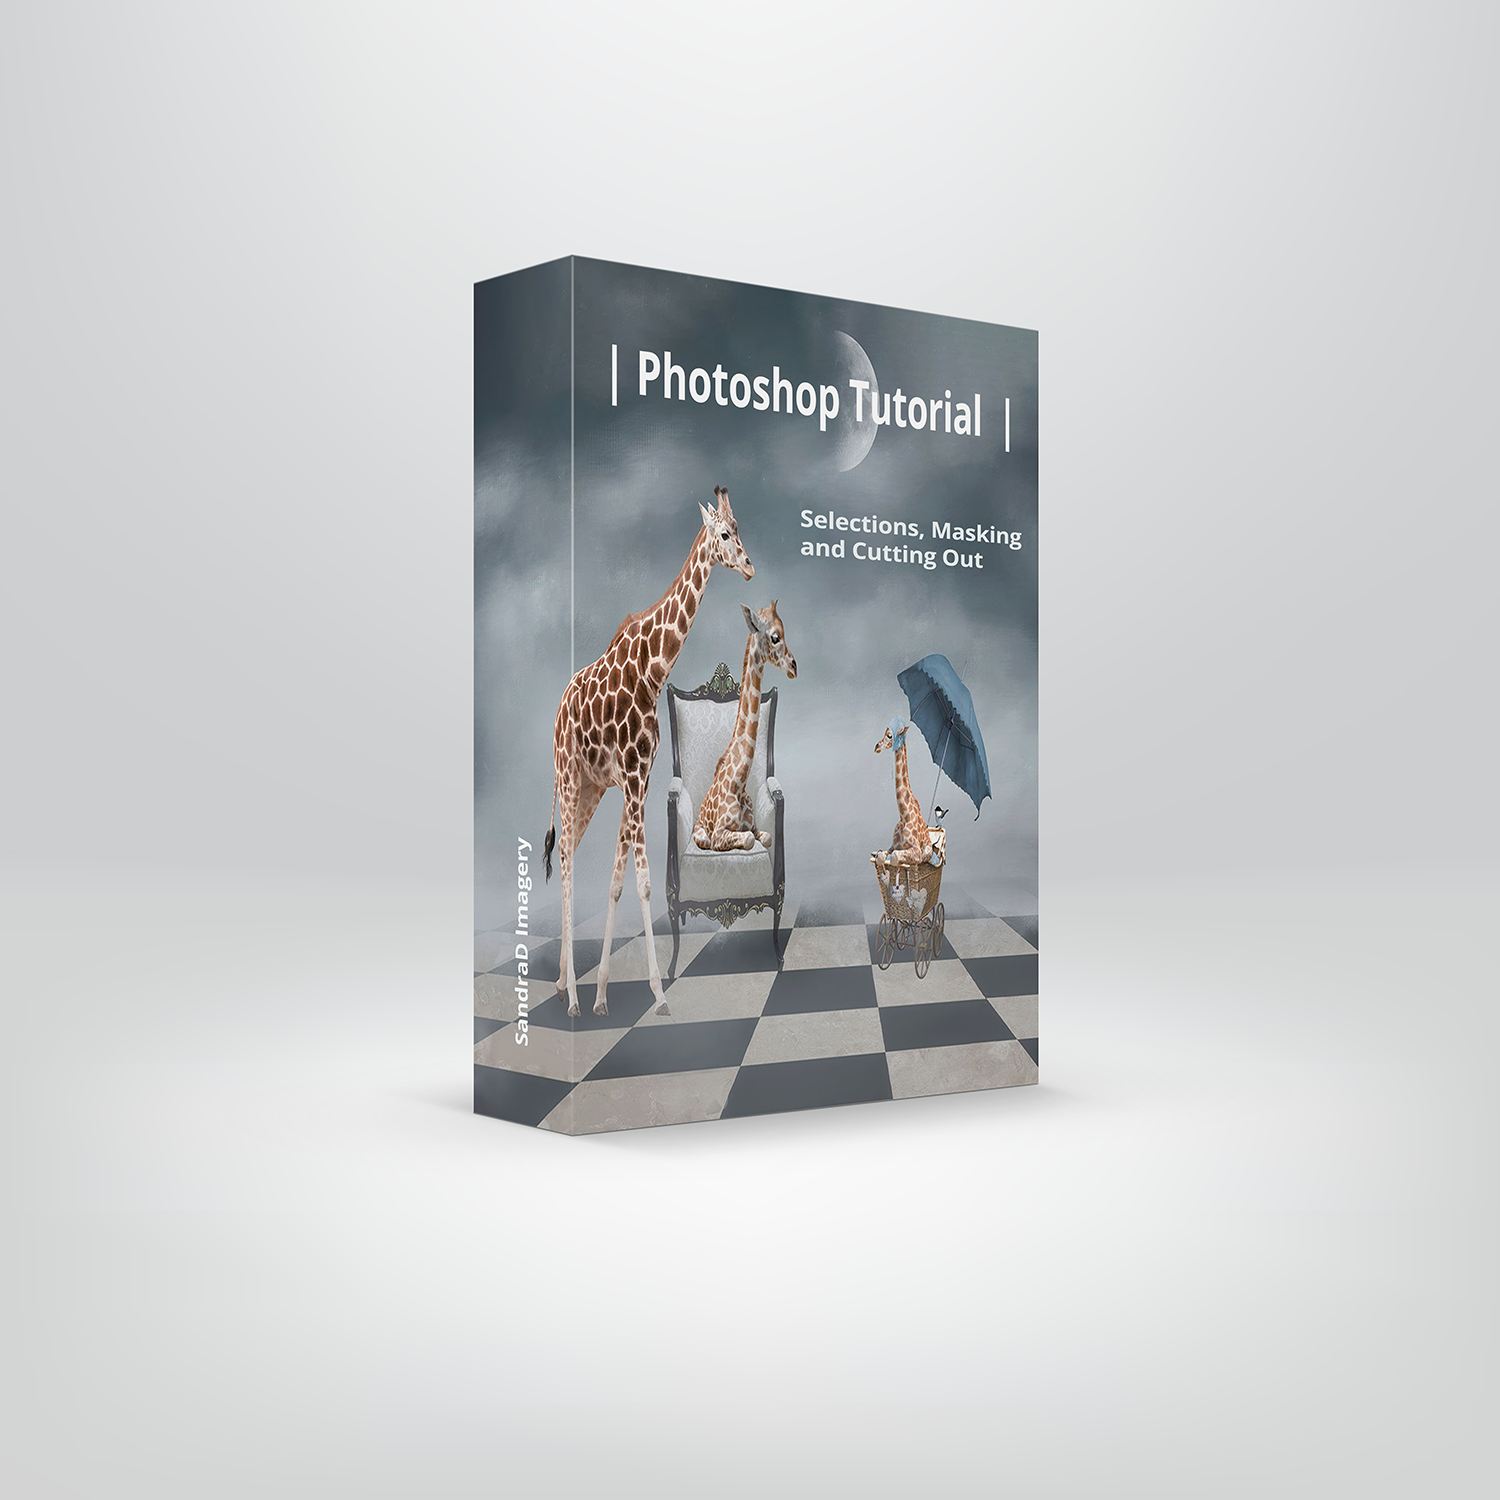
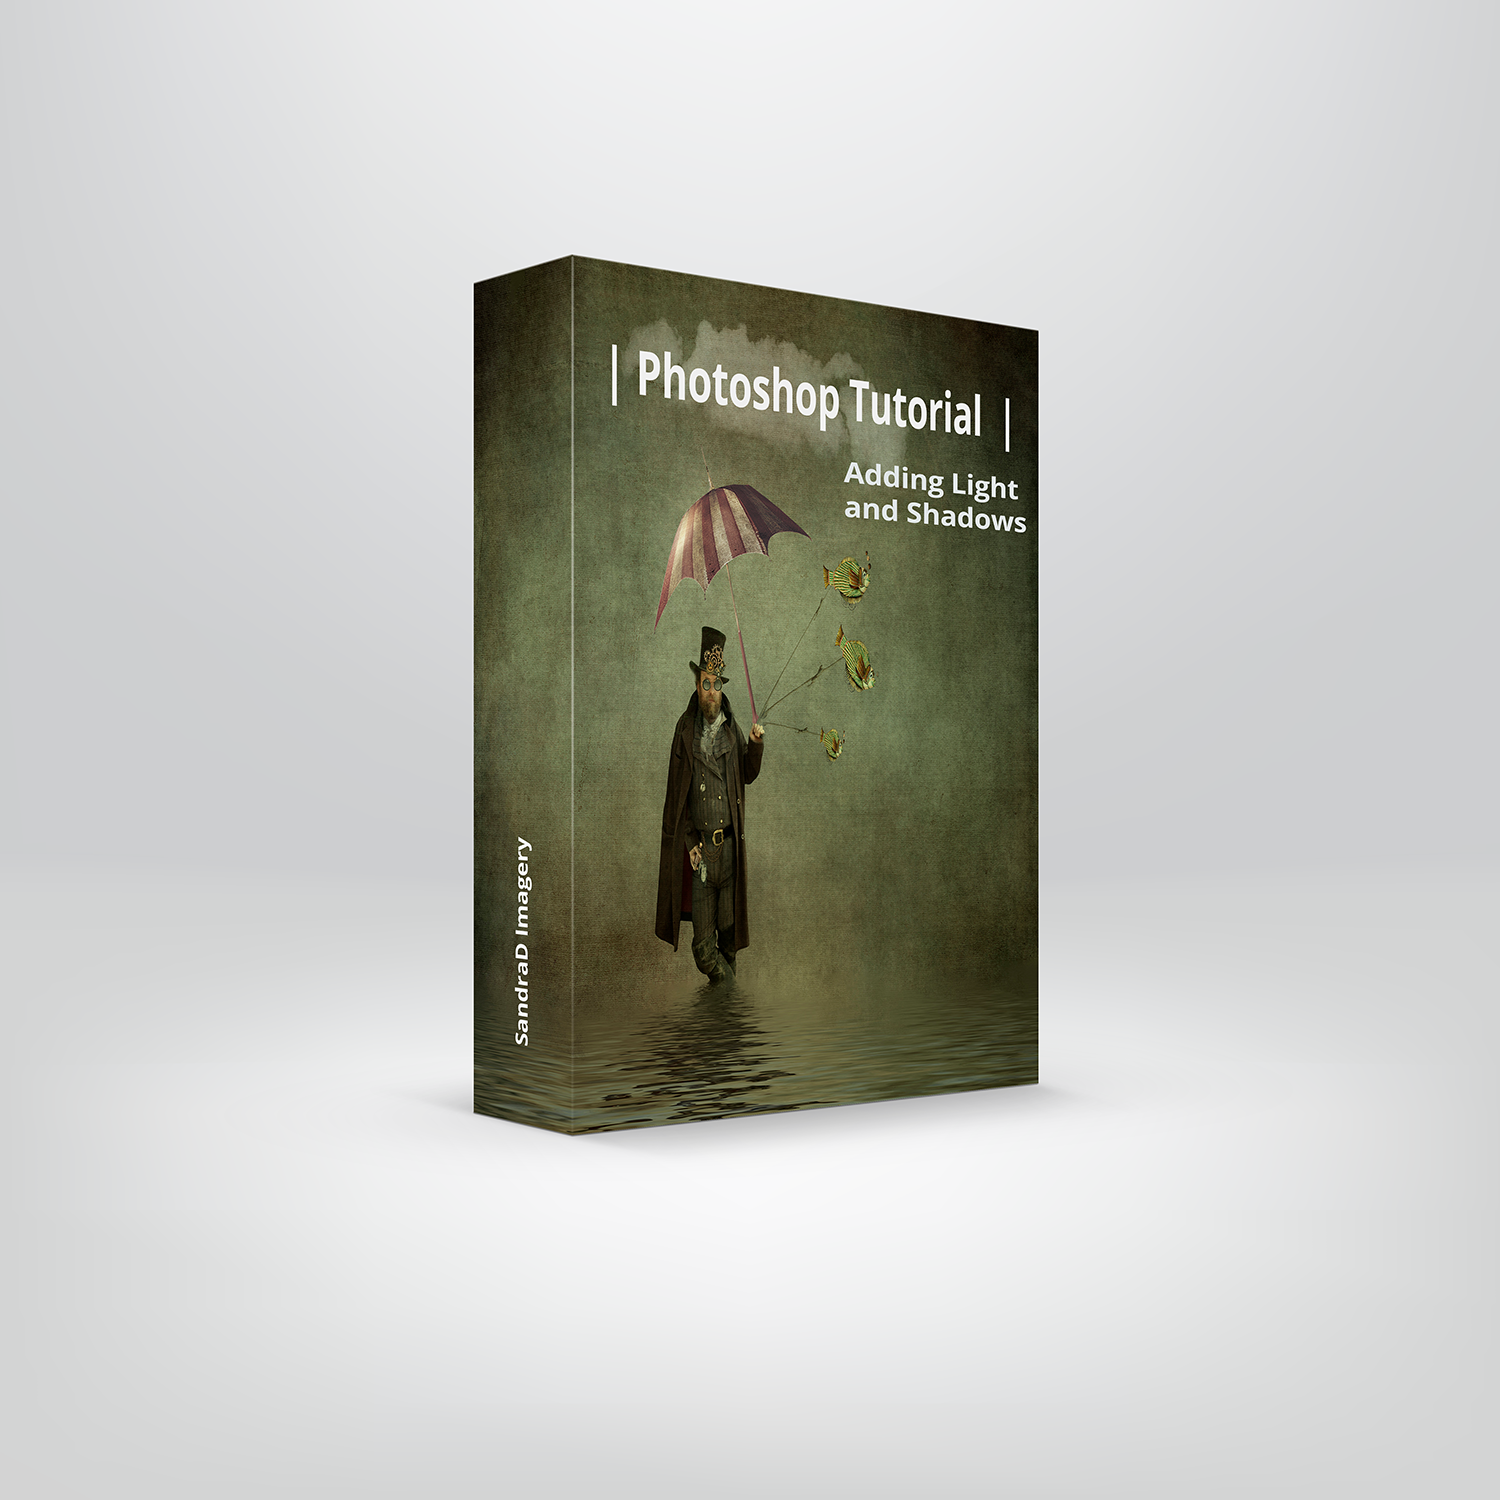
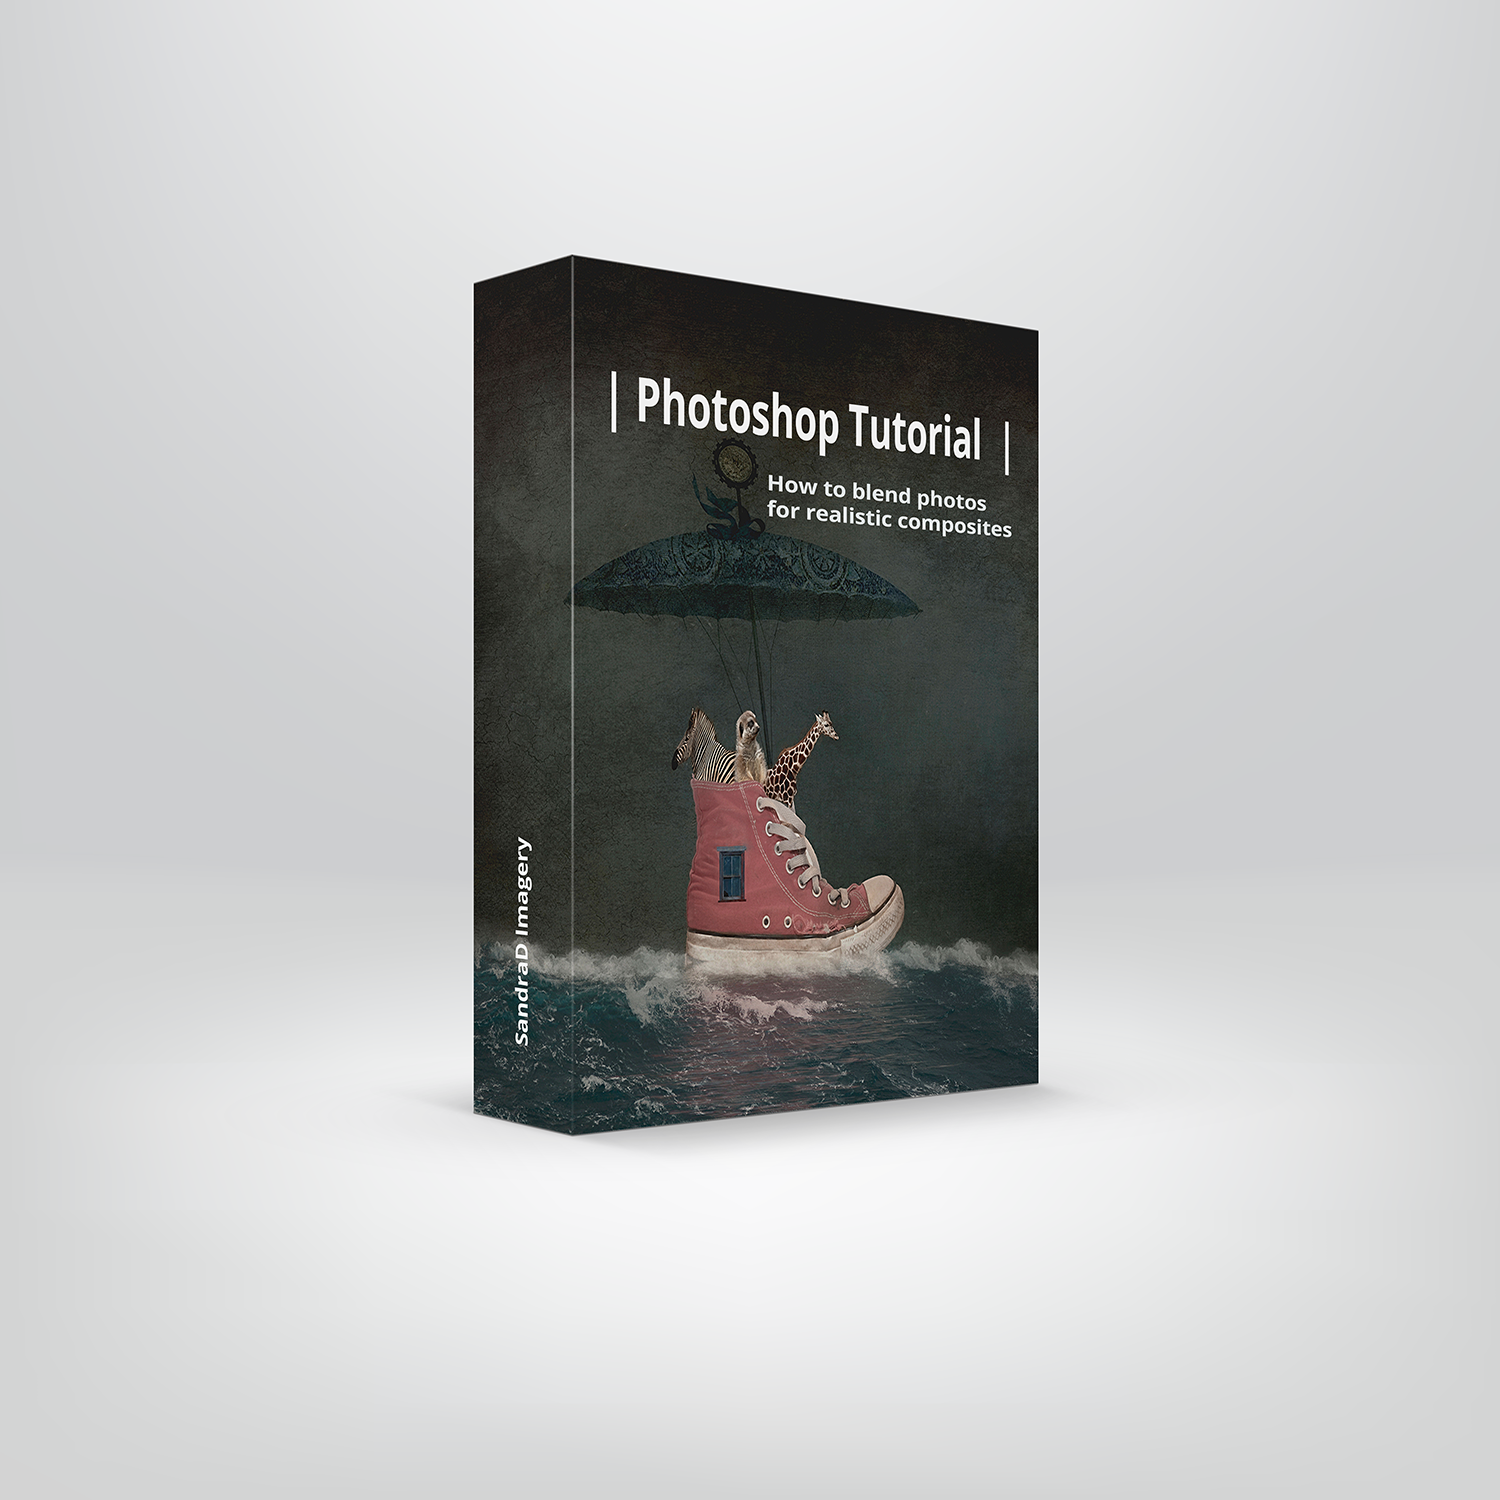
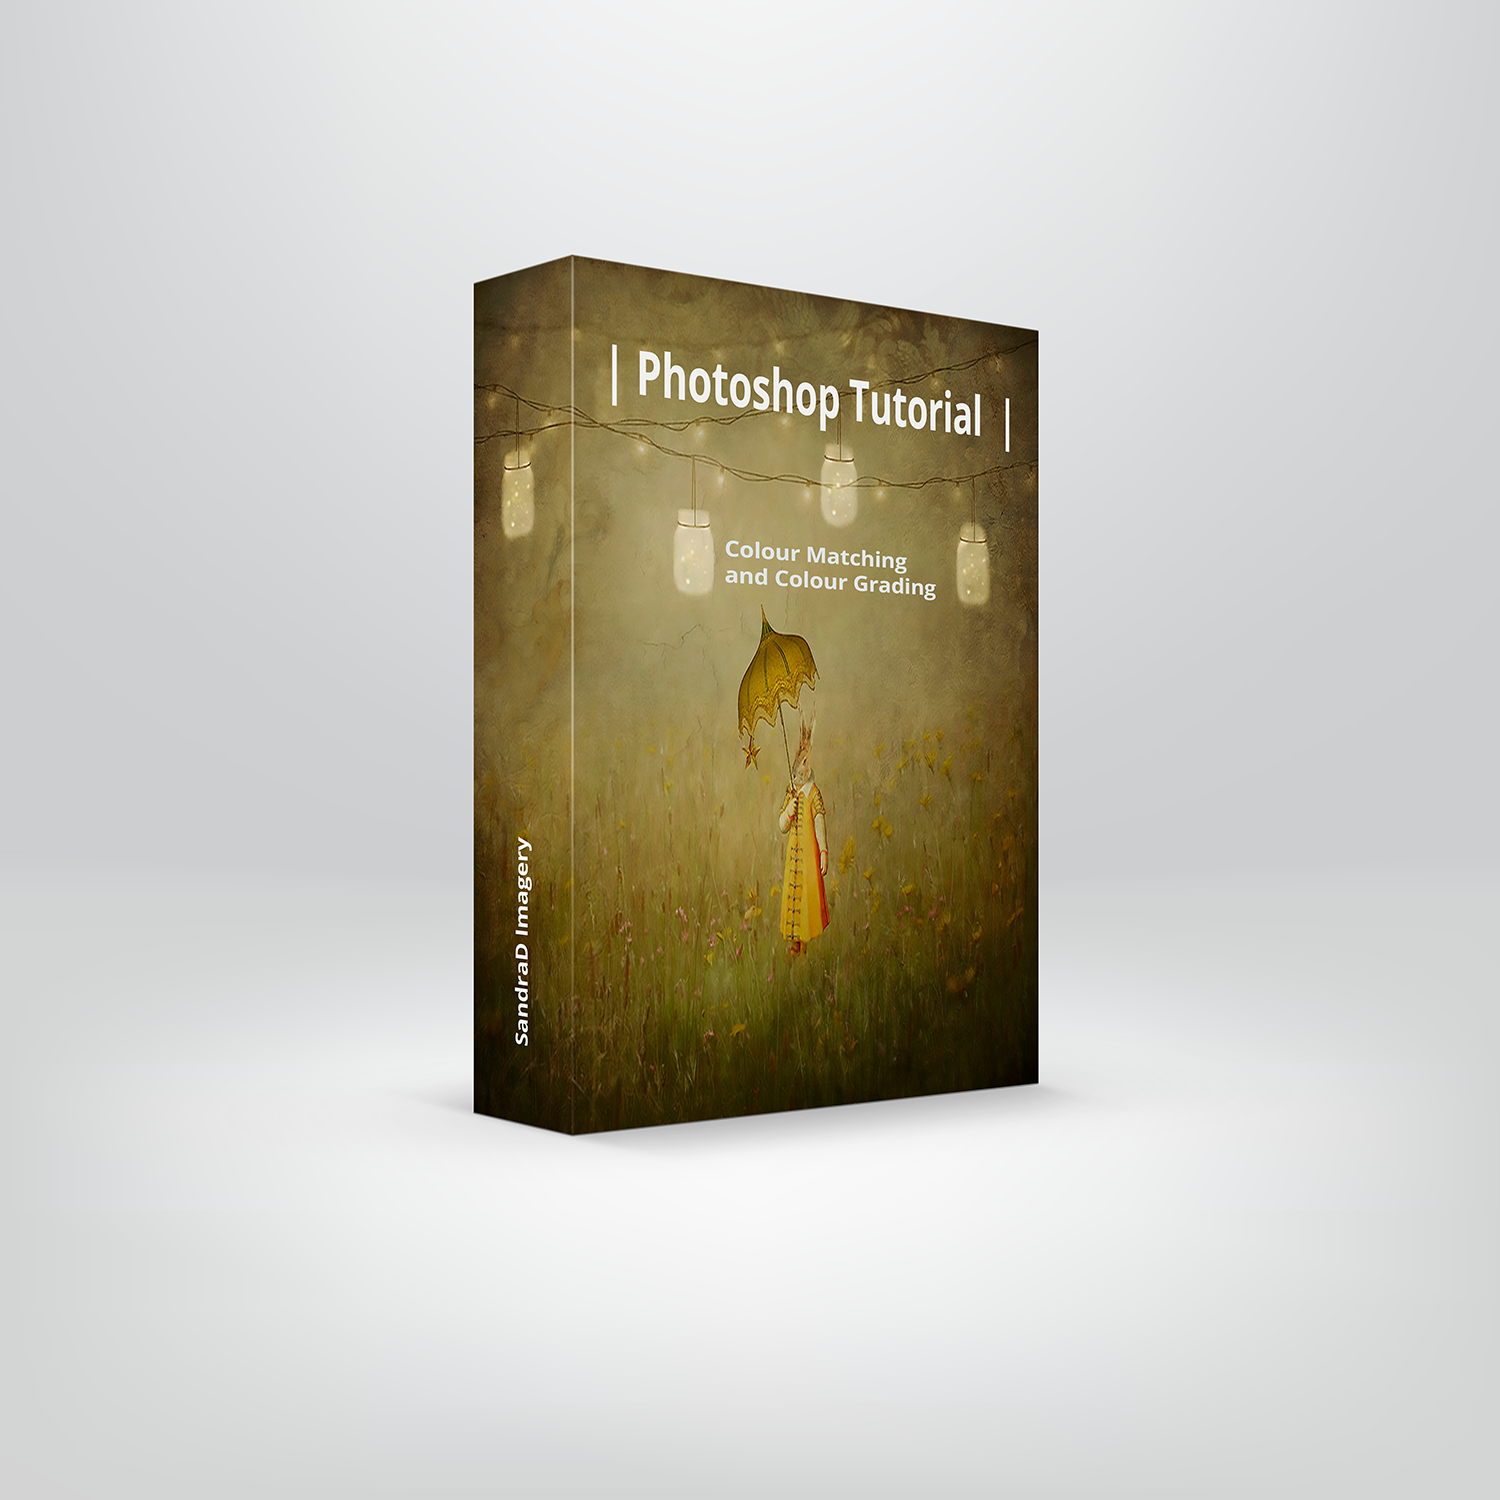
FEATURED PRODUCT
Are you eager to create a composite image but don't know how to begin? Look no further! The Composite Bundle has four video tutorials that will take you from a beginner to an expert in creating basic composite images using Photoshop. I will not only demonstrate my techniques but also share my creative thought process and the fundamentals behind creating a basic composite image.